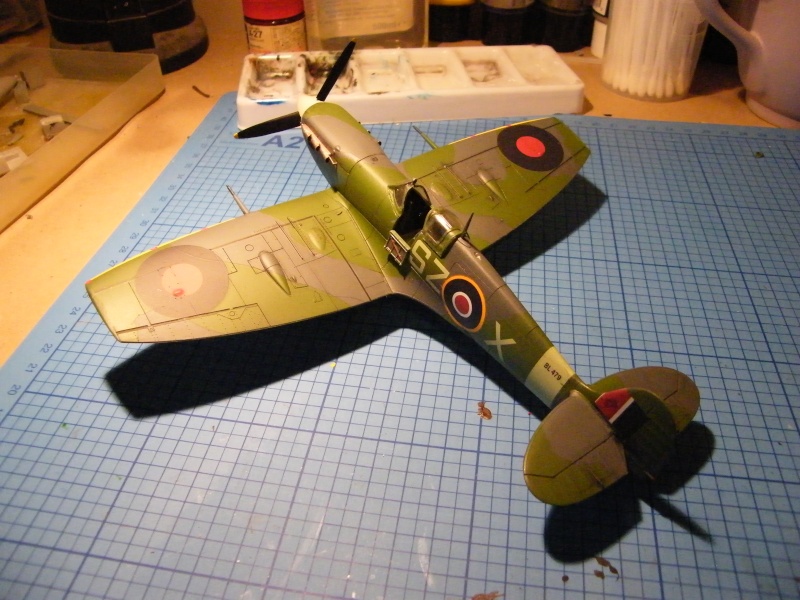
I have given the spitfire a coat of johnsons klear. This is excellent stuff as you dont need to thin it and it dries very quickly.
Now for the decals
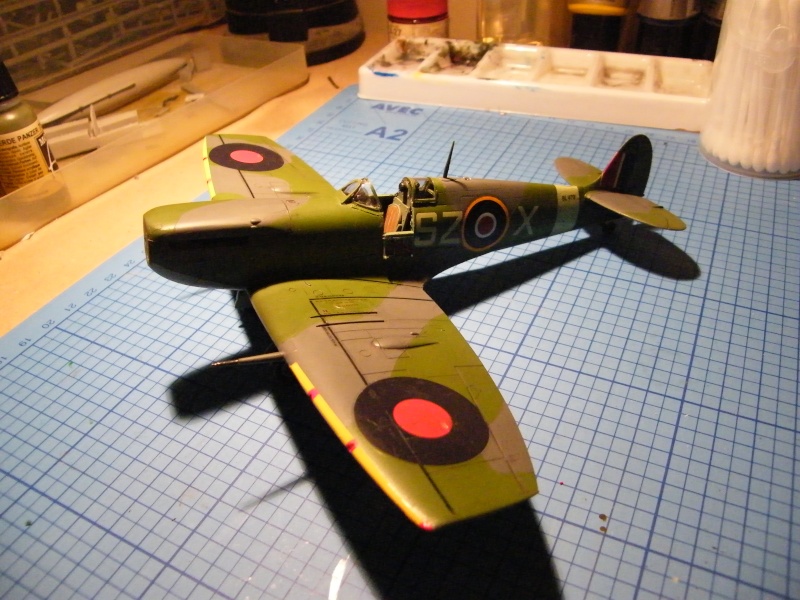
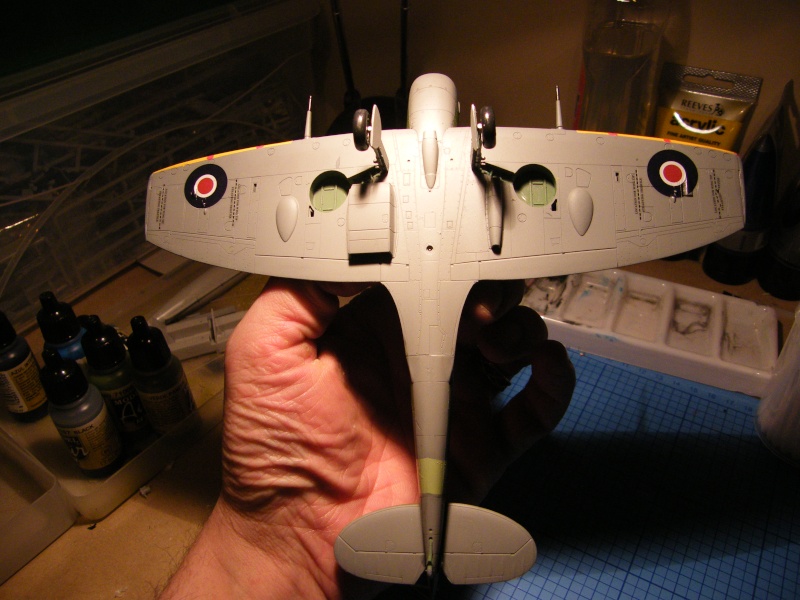
I find with decaling you either like it or hate it, I dont mind the larger decals like roundels, nose art and stripes. I loath stenciling as there are so many of them and they are fiddly. I will admit that I dont always put all fo the stenciling on so this will be down to personal choice. Thankfully the spit doesn't have much in the way of stenciling so I quite enjoyed this.
All you need for decaling is a small container of warm water (I will explain this in a moment), a sharp knife,a paint brush (preferably a flat one) scissors and tweezers. As you progress you will also use some decaling solutions, the most common is micrscale's micro set. this basically softens the decal so that it adheres to the surface better and it will conform the the surface. This combined with the gloss finish on your aircraft and the decals should have a 'painted on' look as the carrier film will disappear on the gloss surface. I will be using a combination of microset and some new Daco productions medium decal solution. I havnt used the Daco yet as I only bought it when I went to Telford.

Firstly you will need to cut the decal that you are going to be using off of the sheet, this can be done with either scissors or a knife. The only thing that you have to be careful of is not to cut to much of the carrier film off as this is what makes the decal 'stick' to the surface.
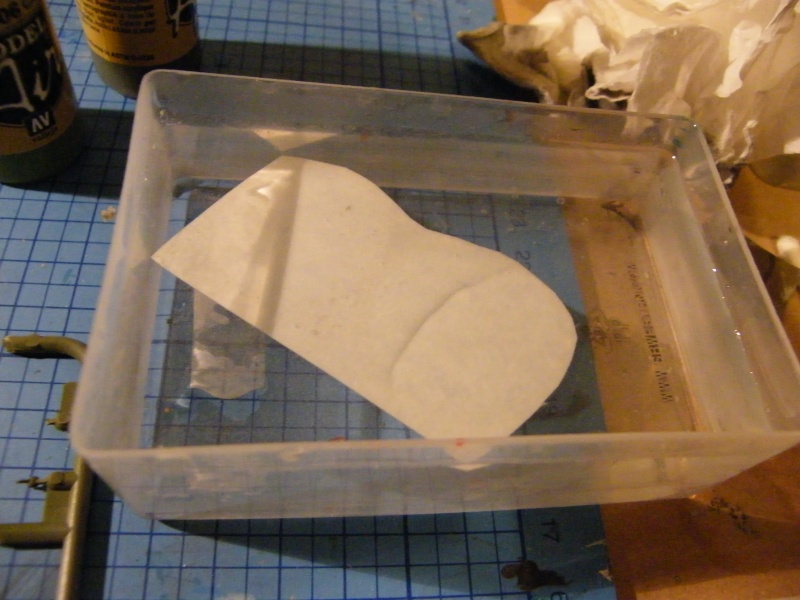
This is where you will need the warm water. Decals come away from the backing paper quicker and more cleanly when submersed in warm water as it softens the glue up a lot easier. I also put the decal in the water face down as this will prevent the decal from curling up, then just leave it in the water for about 20 seconds (dependant on how warm you have the water)
I find the best way to apply the decal is to hold the backing paper with the tweezers and then slide the decal onto the surface with either your finger or paint brush. Once the decal is on the surface of the kit I find to move it into position, if you dip your brush into the water and brush over the decals. Then using the opposite end of your paint brush (preferably if it is a rounded tip rather than a pointed one as some are) then you can gently push the decal around. When it is in the desired postion use the kitchen towel to absorb the water. Unfortunately I cant do this and take pictures so I have just moved on to the picture of the decal on the surface.
I will now give the decal a thin coat of decal solution using my flat brush. I use a flat brush as it tends to smooth the decal out quite nicely. Before I do this I have removed any excess water using kitchen towel as this will suck up the water just by touching it on the surface carefully.
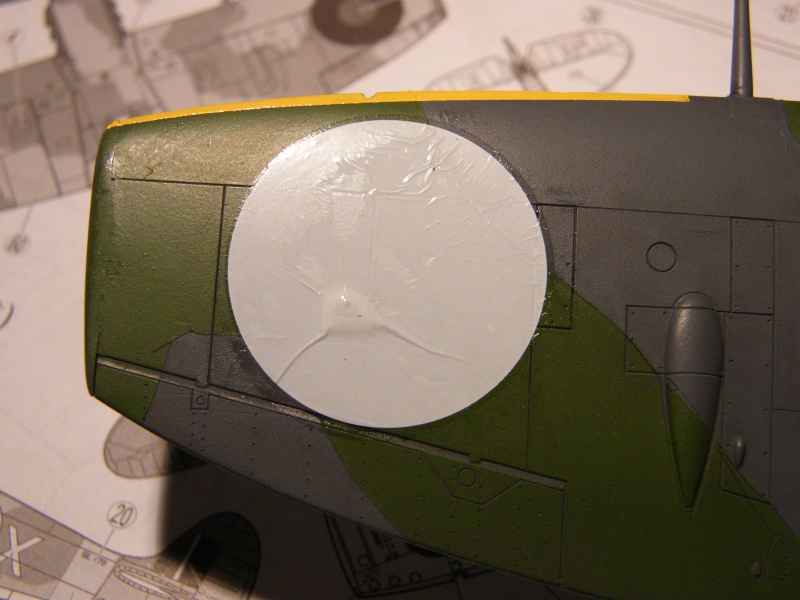
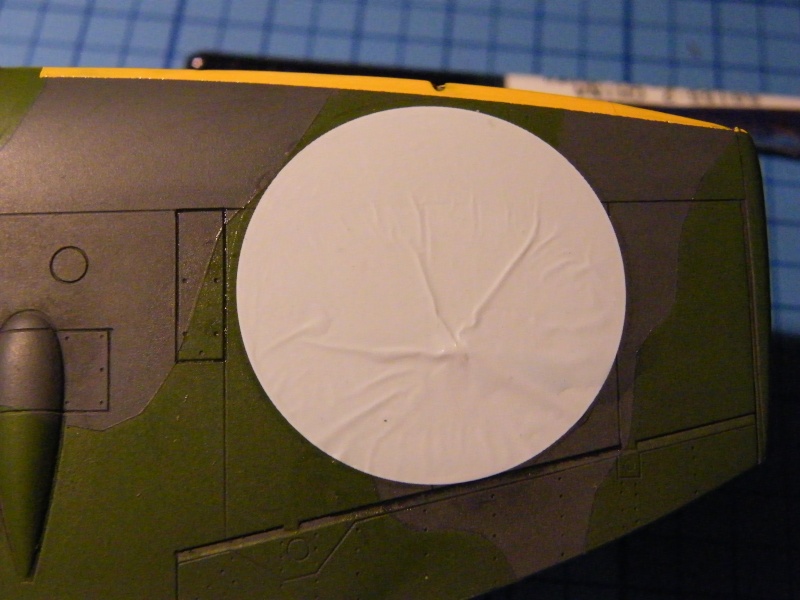
I have now brushed the micro set onto the decal, the decal will take on a wrinkled look but dont worry as it will flatten out as it dries. Just leave it to dry and apply more solution if you prefer as it will get smoother and smoother each time.
You can do as many decals as you like at a time, all you have to be careful of is that you dont put your finger on any of the decals as the will come of if they are not dry.
I will now continue to apply the decals and then I will try my new Daco productions solution on the roundals.
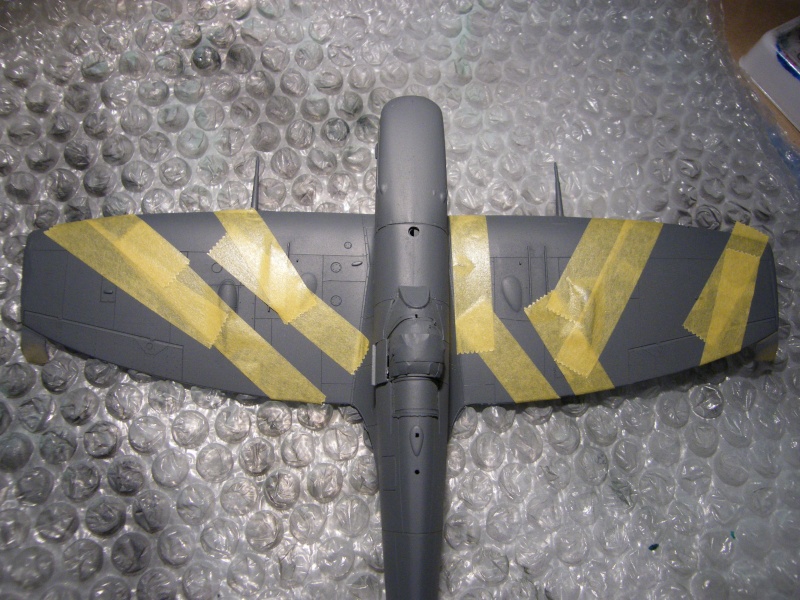
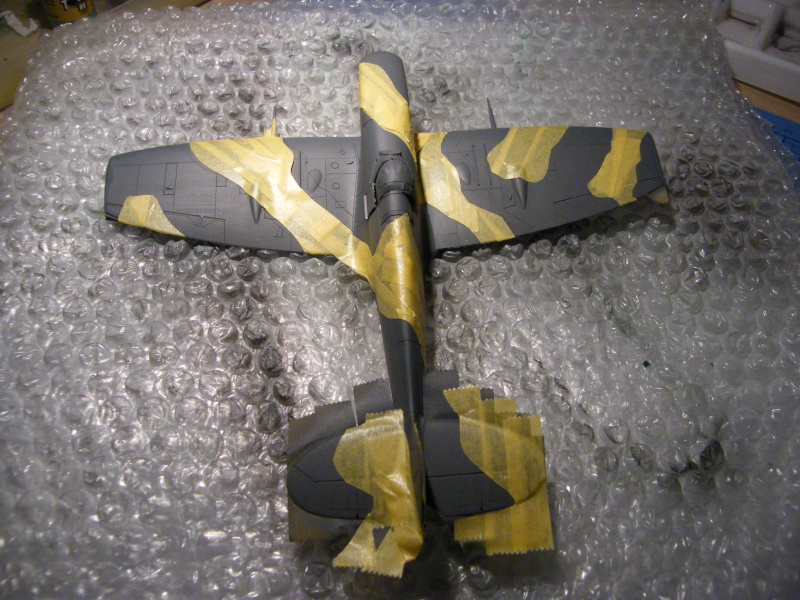
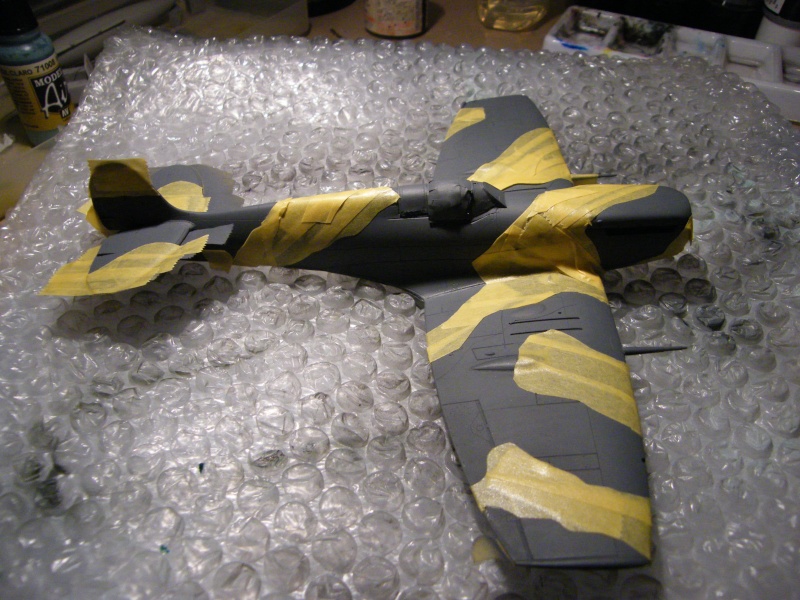
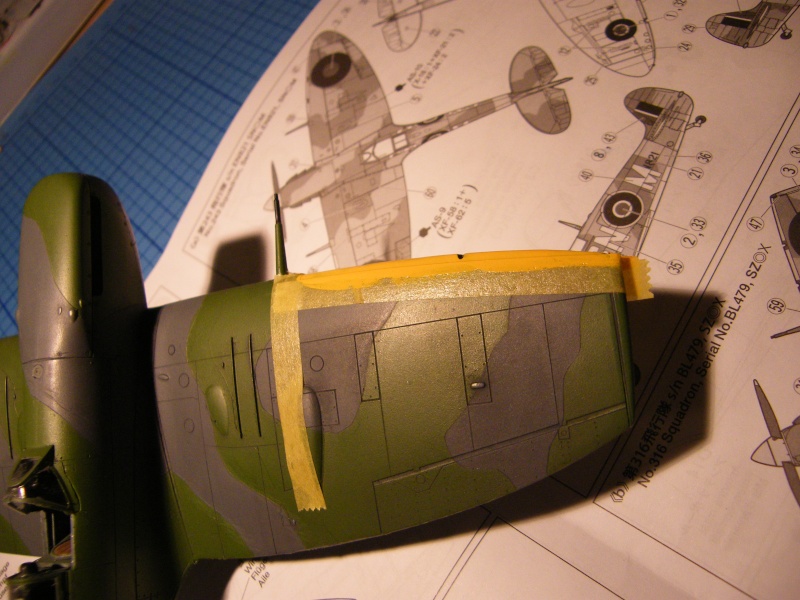
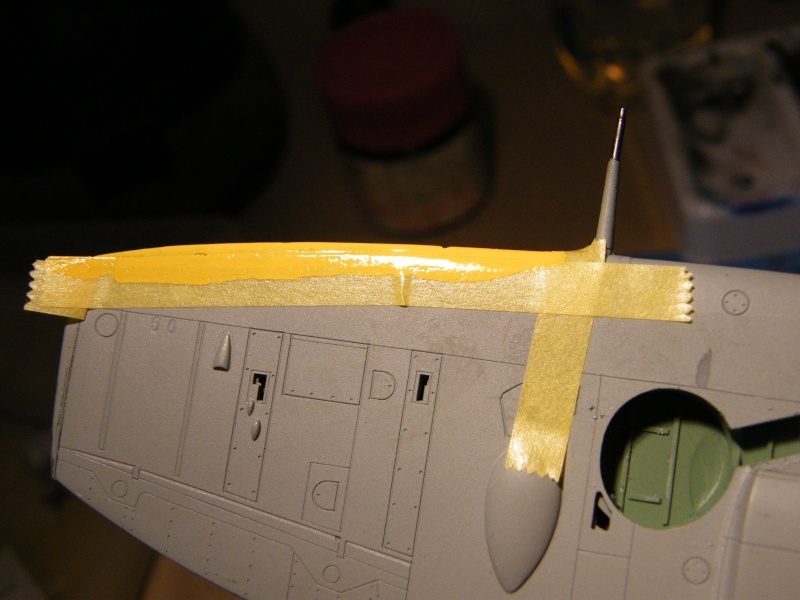
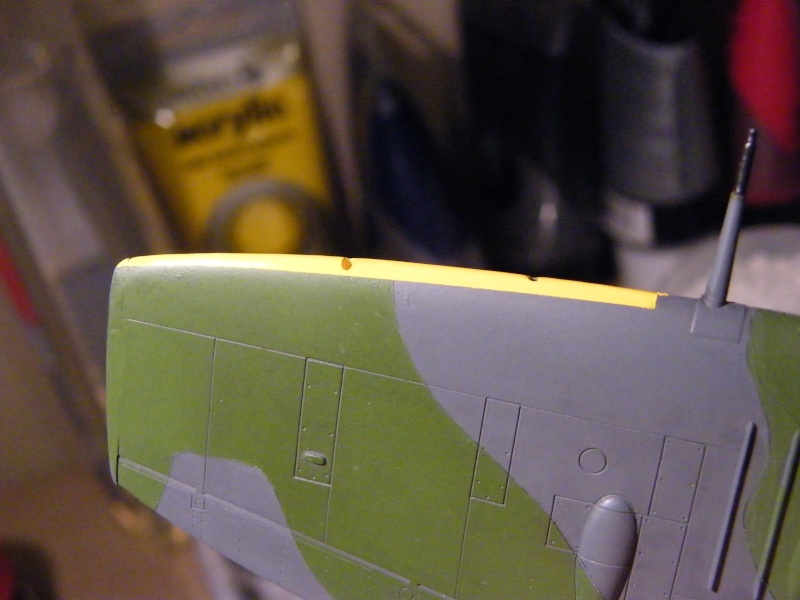
Once all these are dry tomorrow I will mask up the yellow stripes along the front of the wings. There are decals for these but I prefer to paint these as I find I get a better finish and it is easier.