Did you know that registration to Fighter Control is completely free and brings you lots of added features? Find out more....

Previous Model Comp Builds - Gallery

Find details on our modelling competitions and how you can join in here.

Moderator: Flyingmonster

User avatar
Ben Montgomery
Moderator
Posts: 8156
Joined: Fri Oct 02, 2009 4:16 pm
Location: Cambridge
Contact:

Re: Revell 1/48 B-1B Lancer - Finally Updated!

Post by Ben Montgomery » Sun Dec 12, 2010 11:26 pm

Got a bit, erm, carried away this weekend.

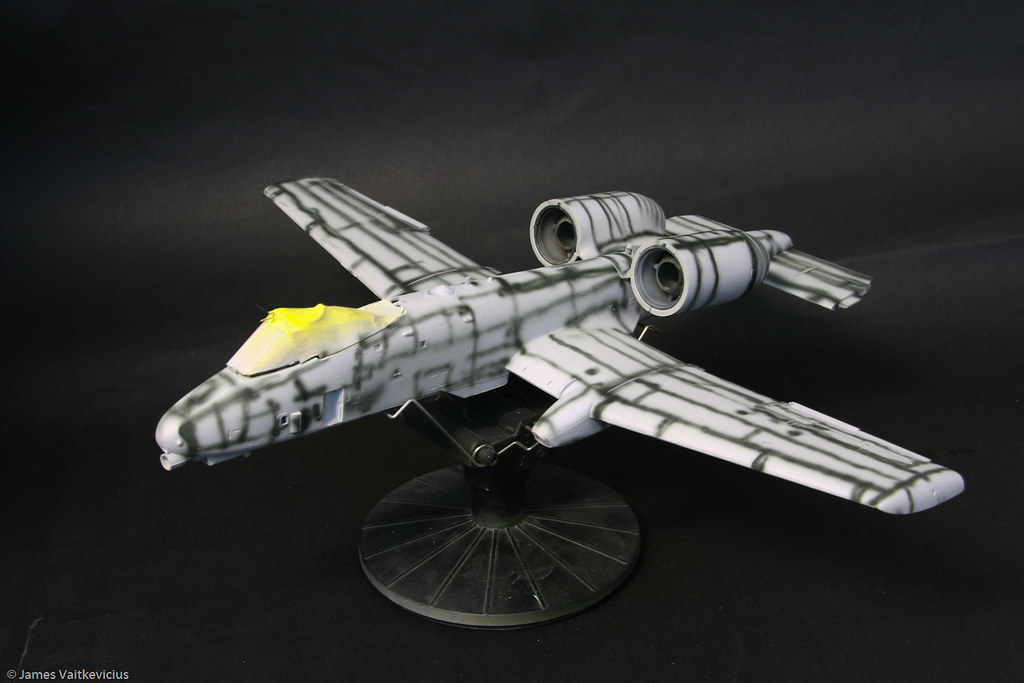
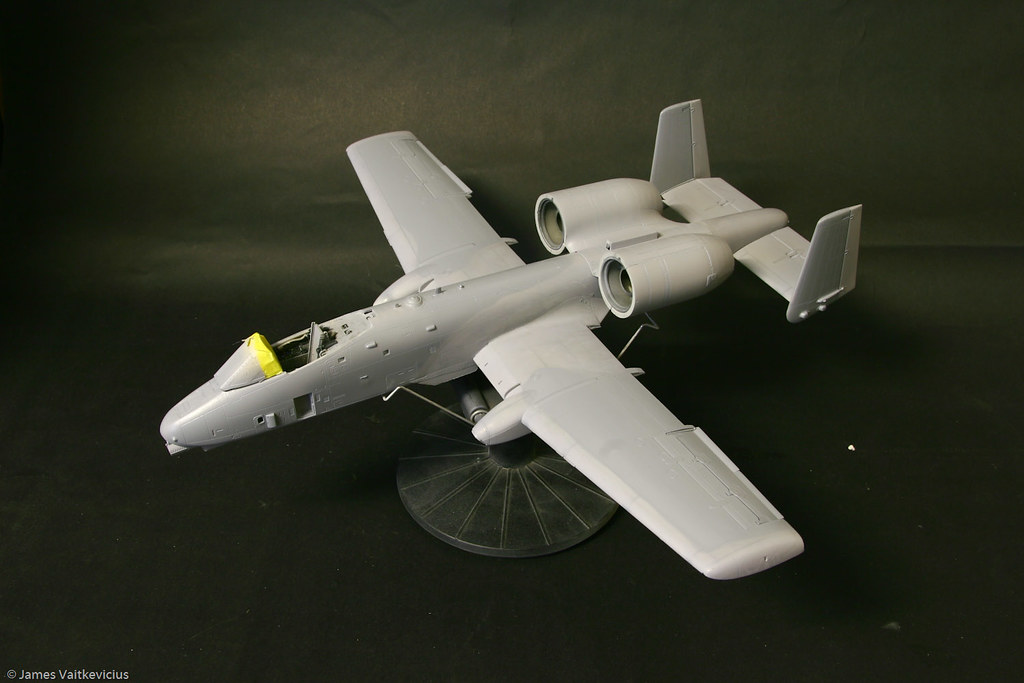
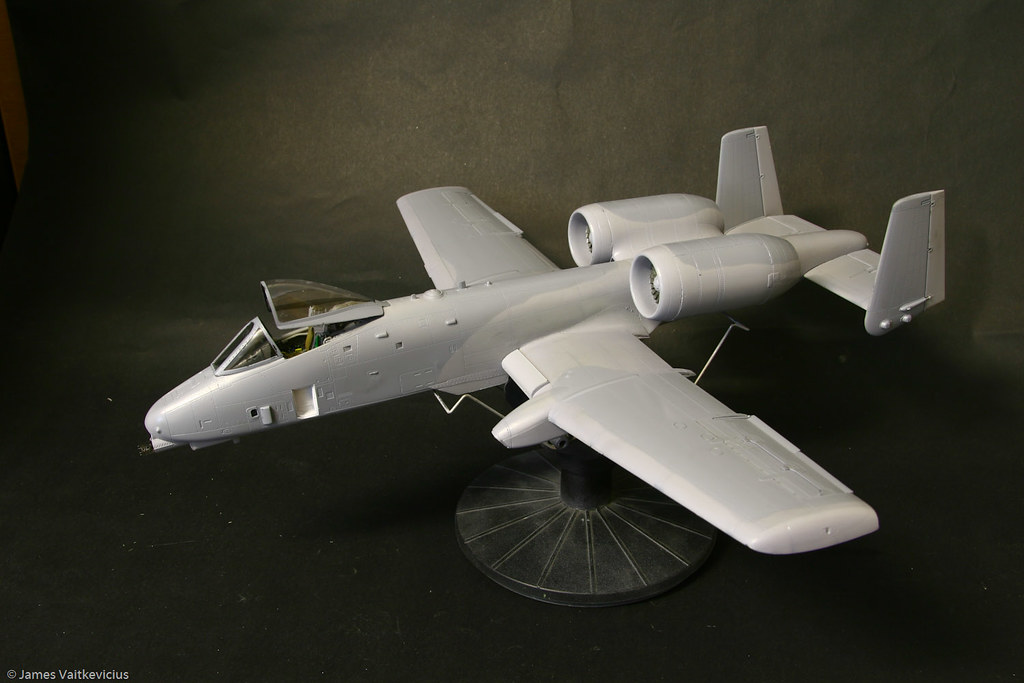
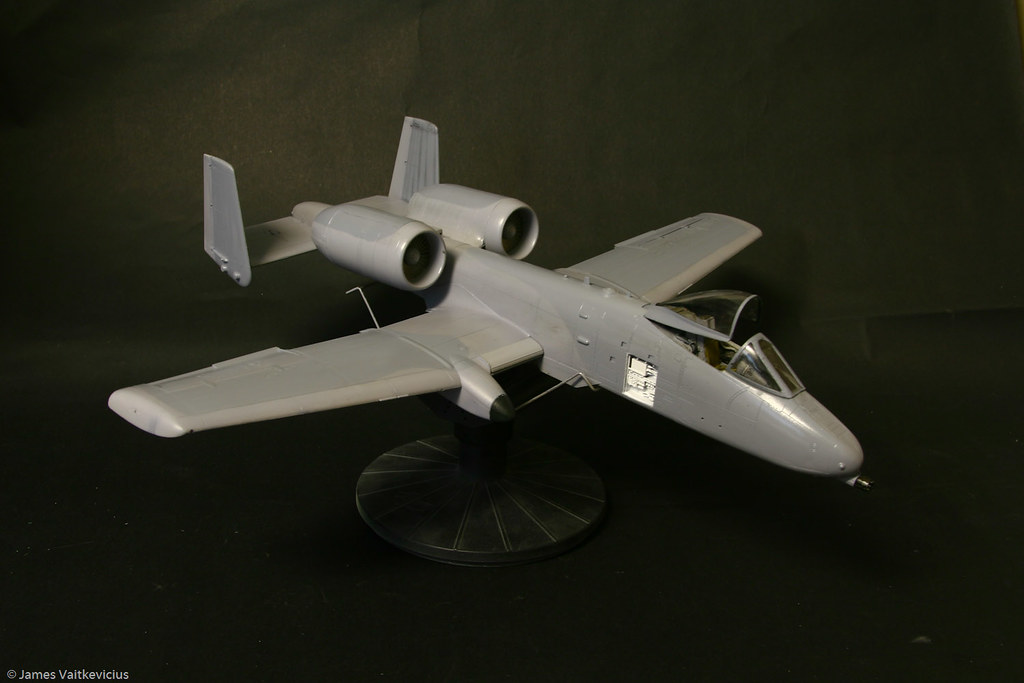
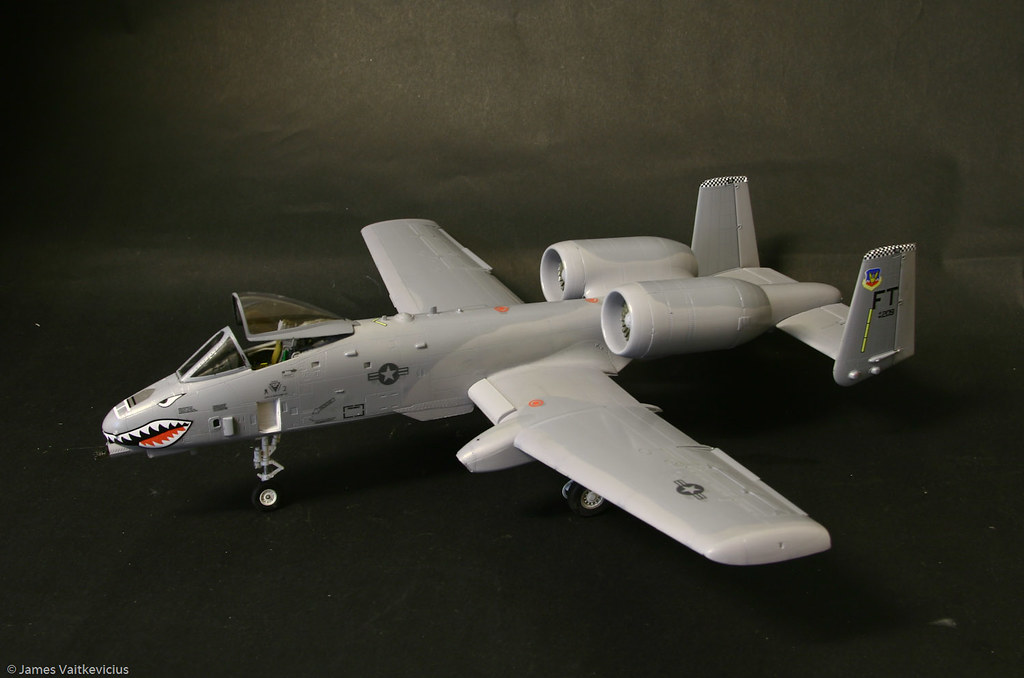
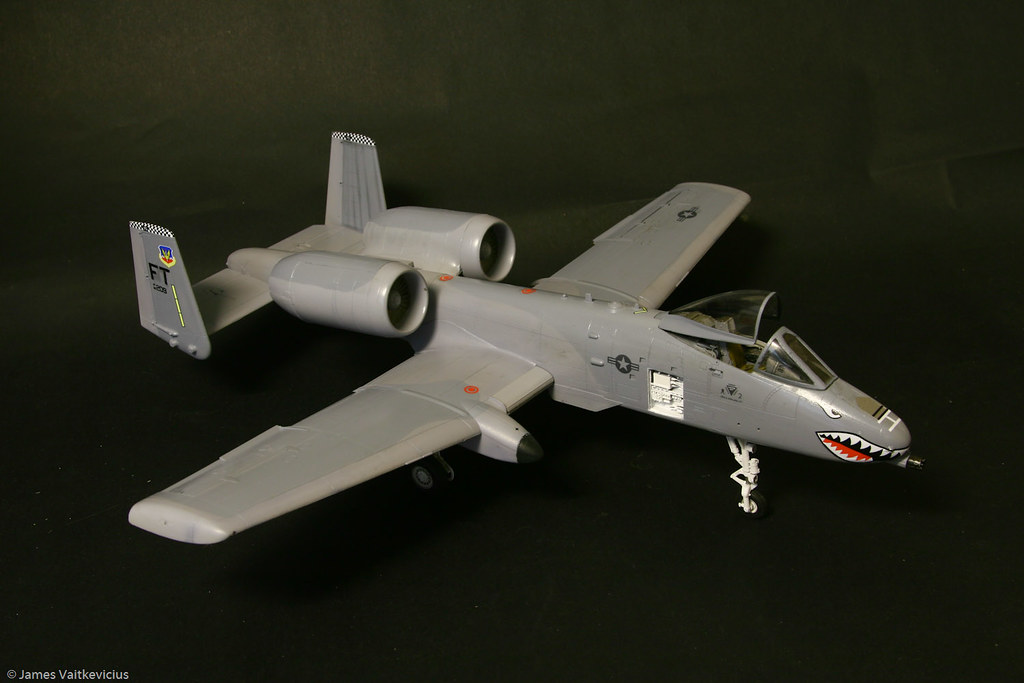
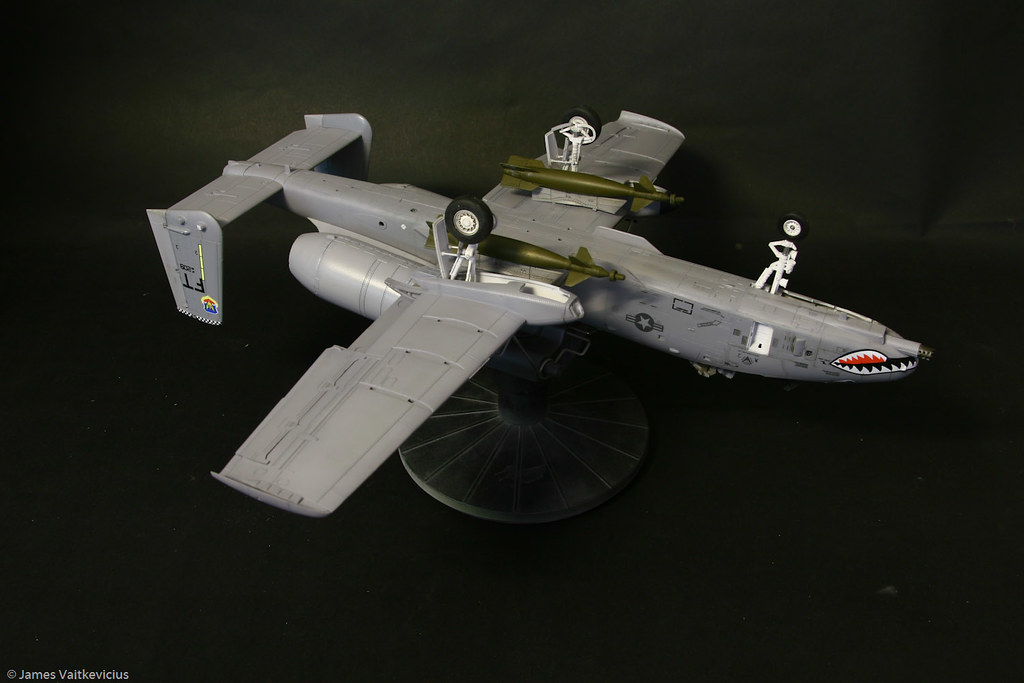
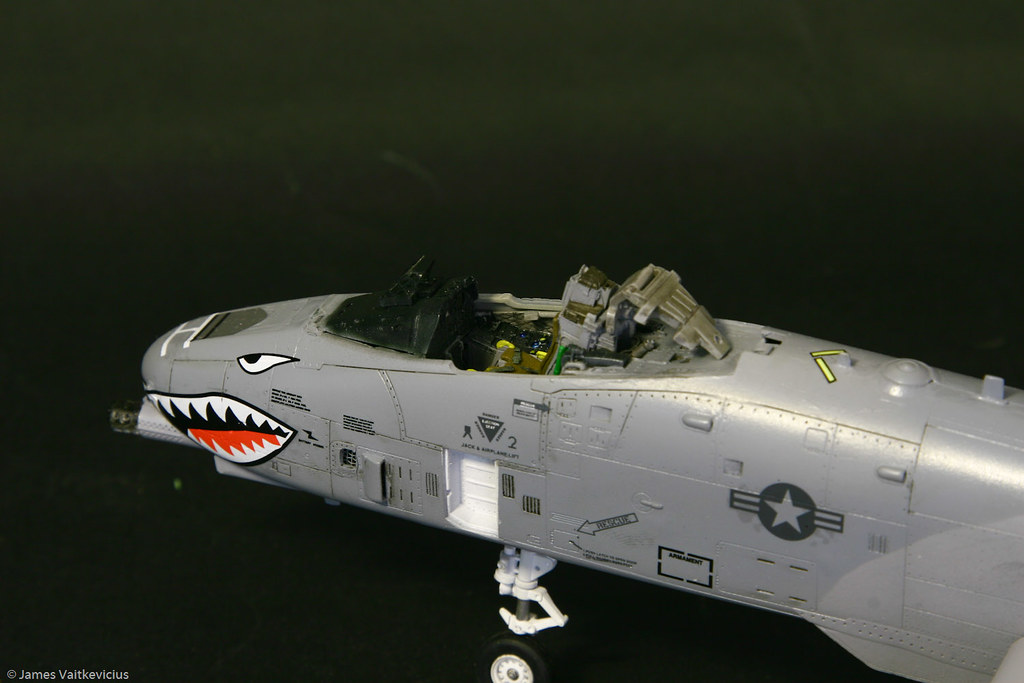
And ended up with this:
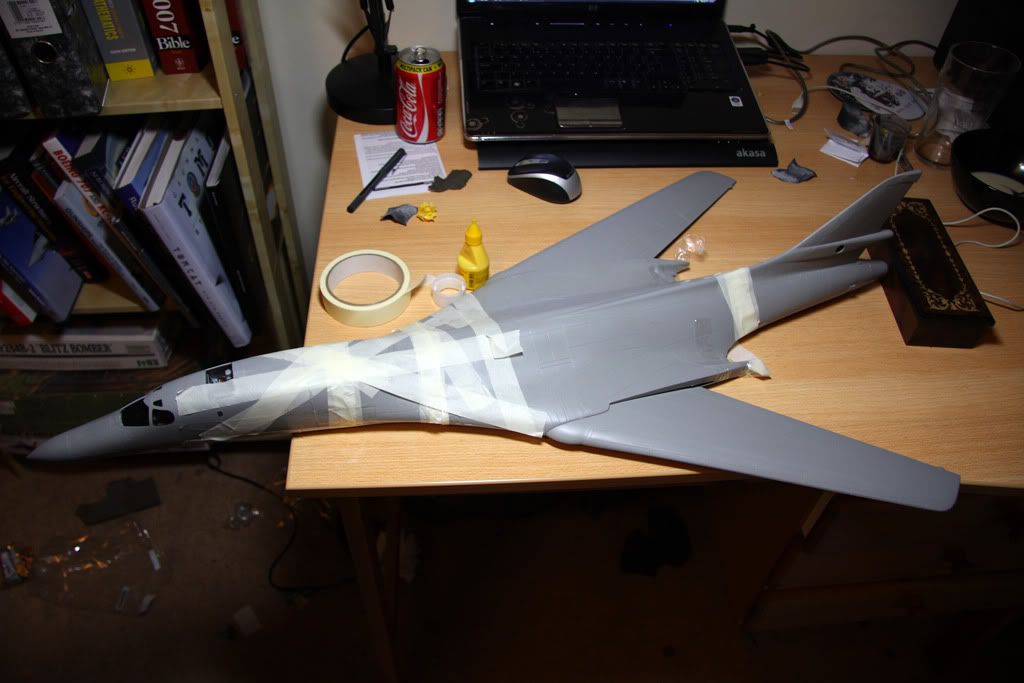
Image

Not quite sure how! :lol:

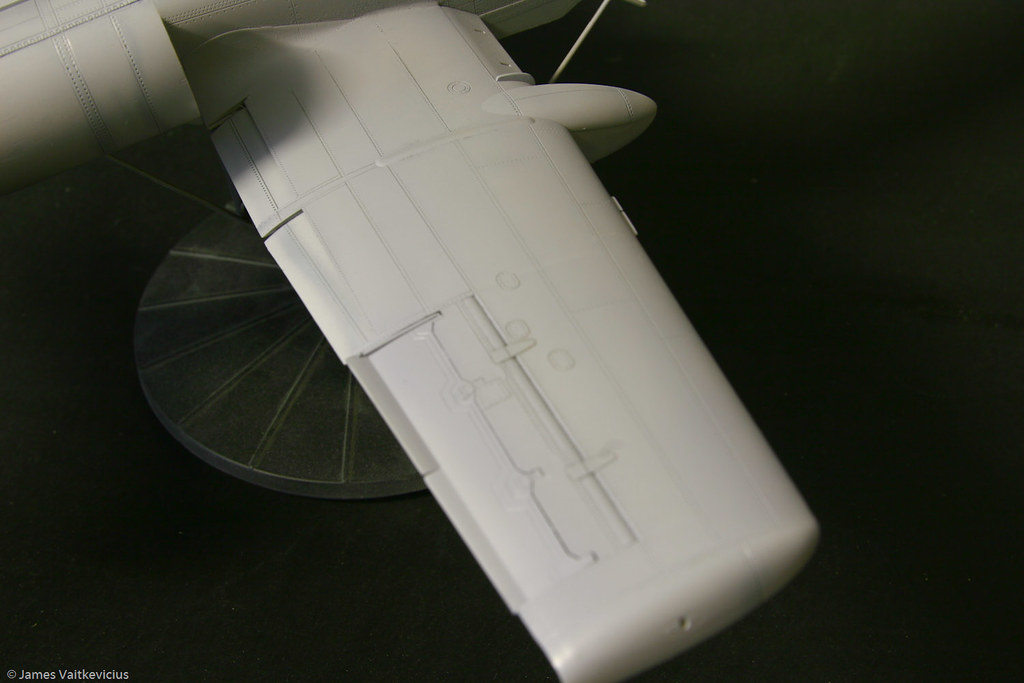
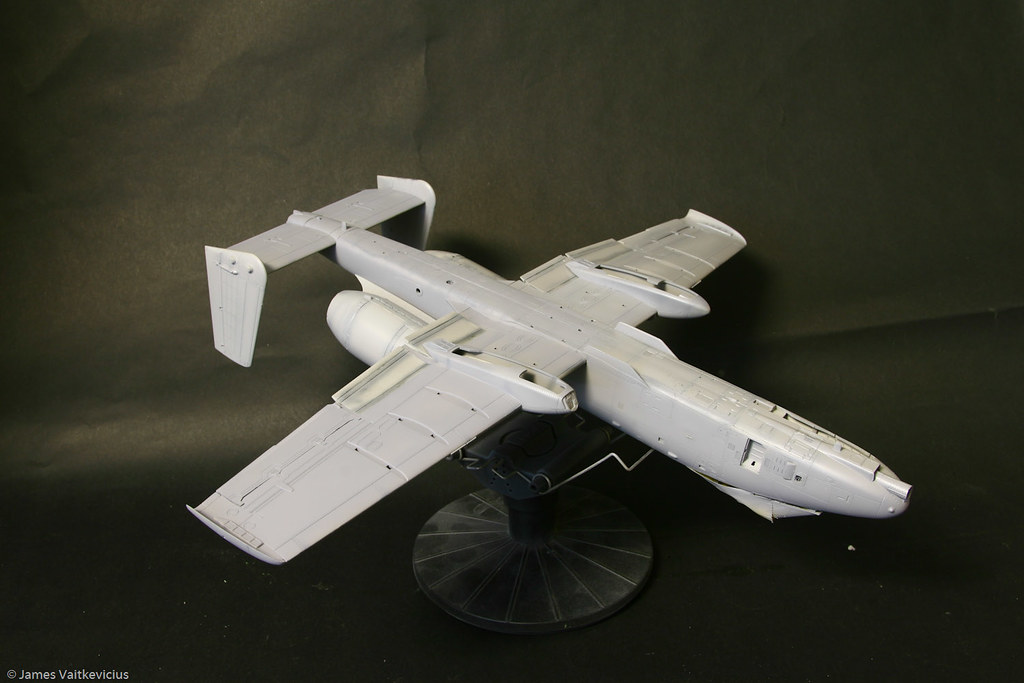
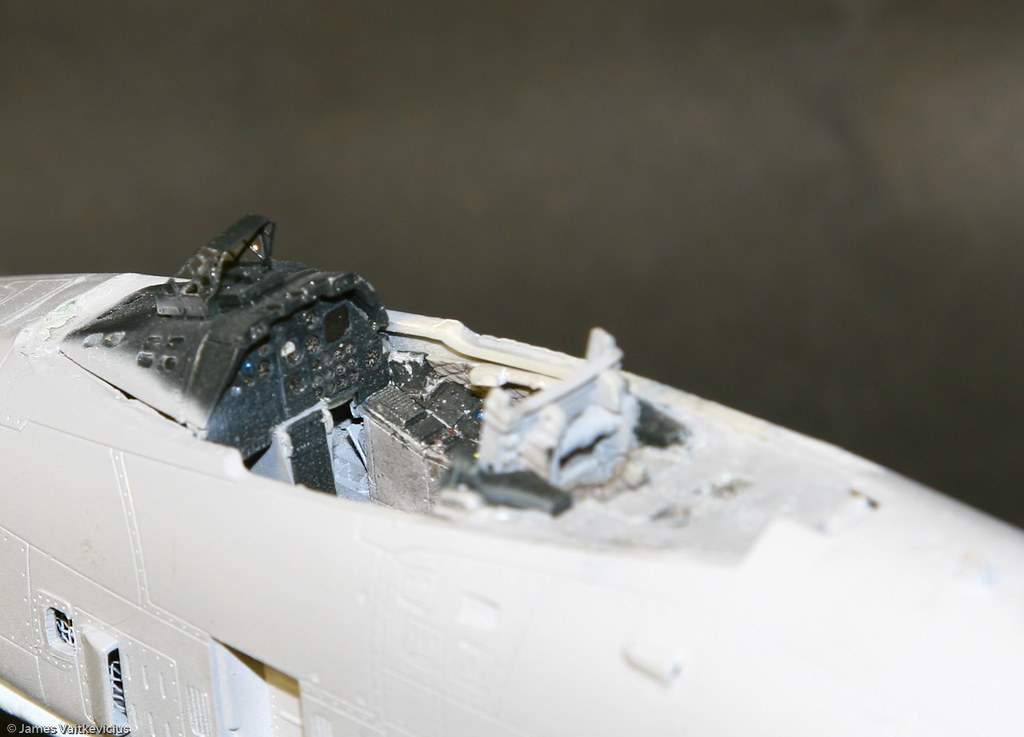
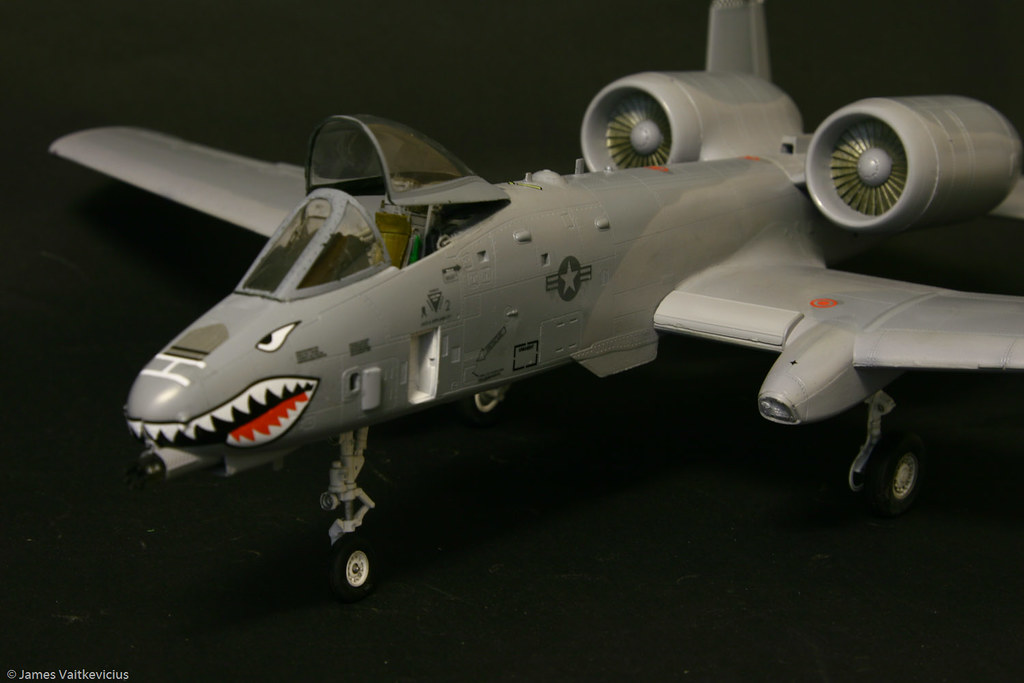
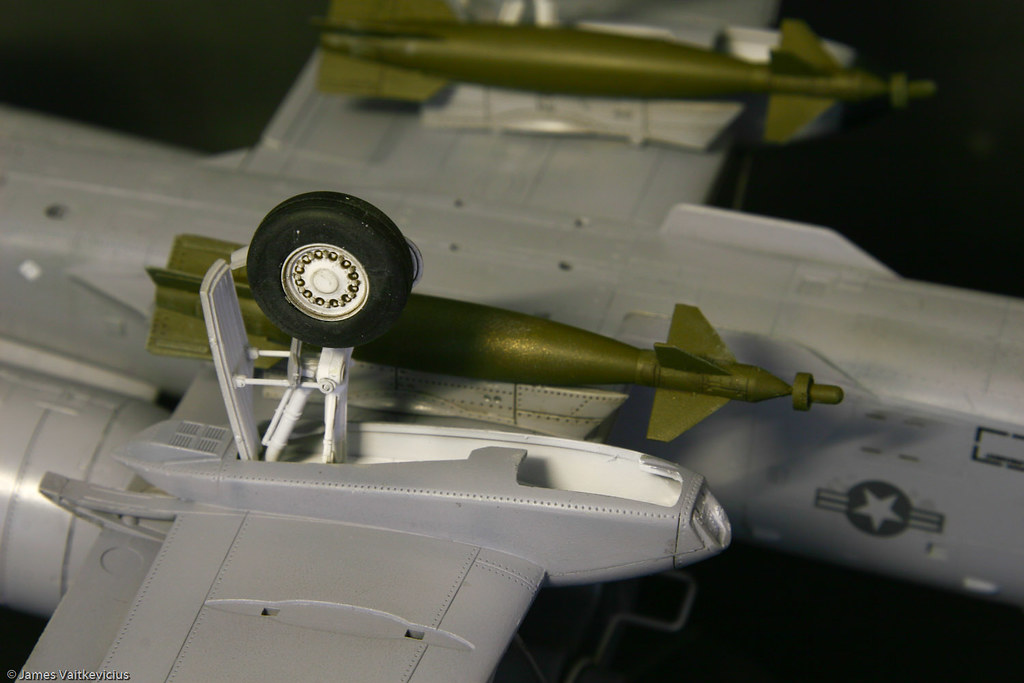
I've painted all the landing gear bays and bomb bays, so will put up photos of that ASAP after I remove all that industrial amount of masking tape.

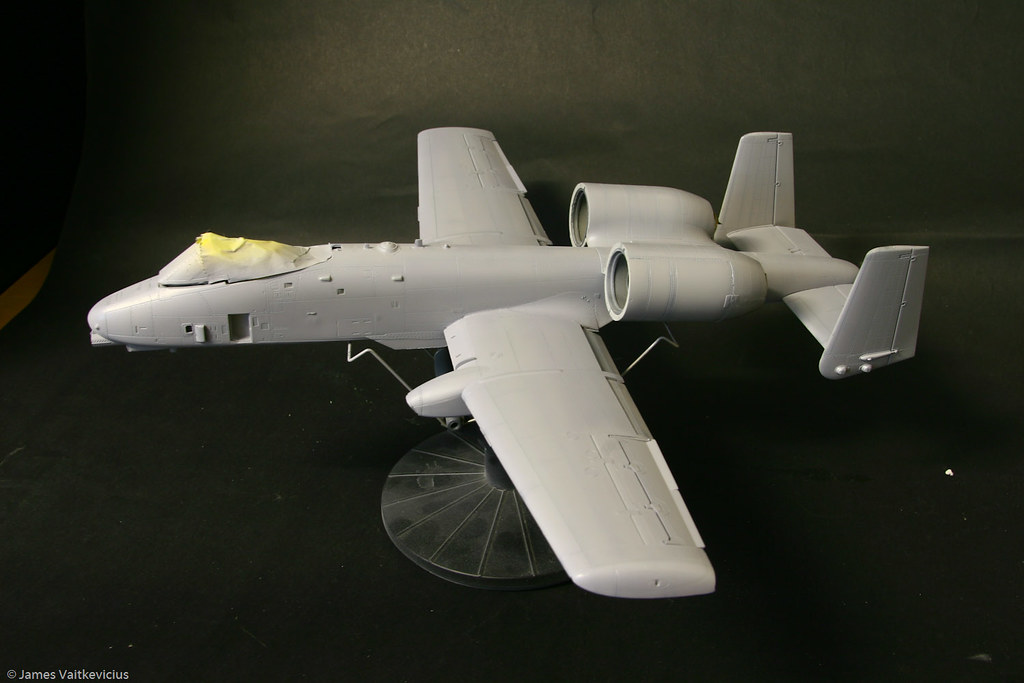
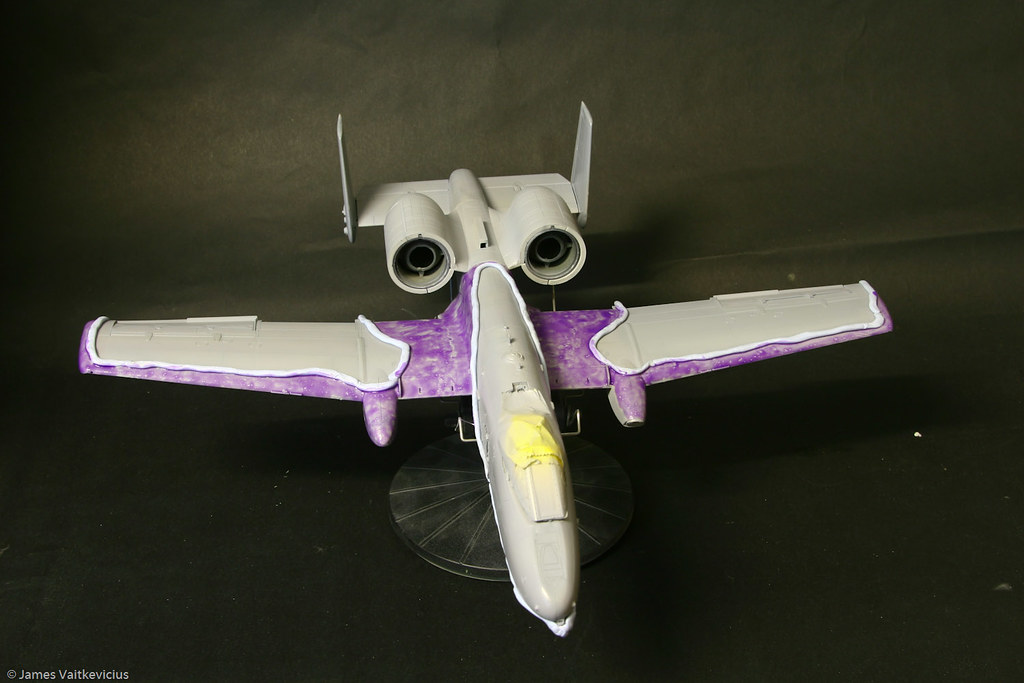
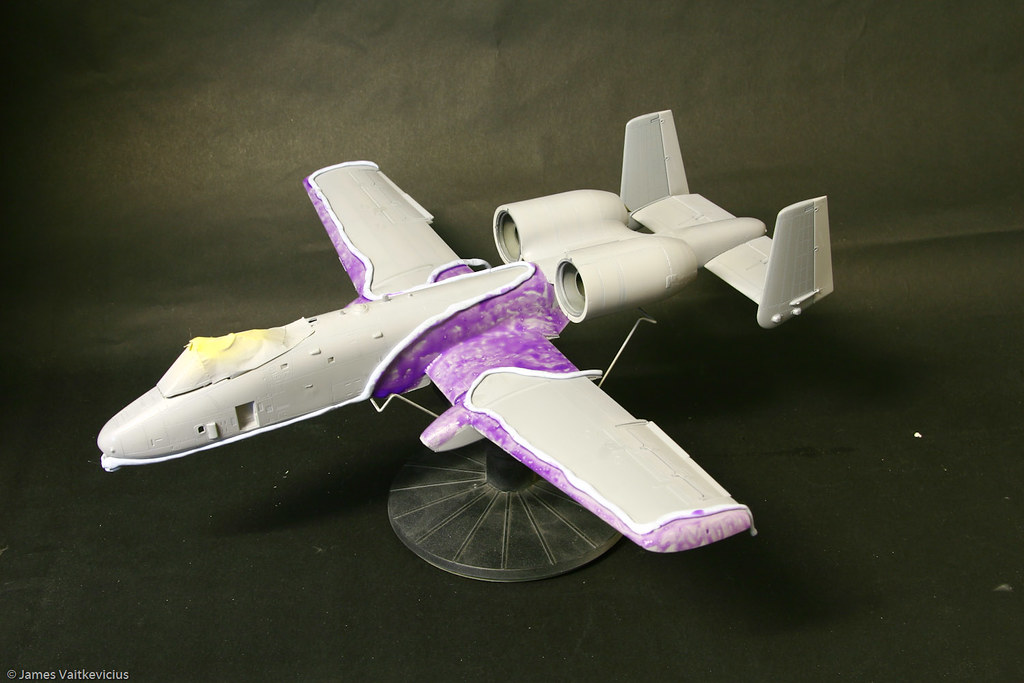
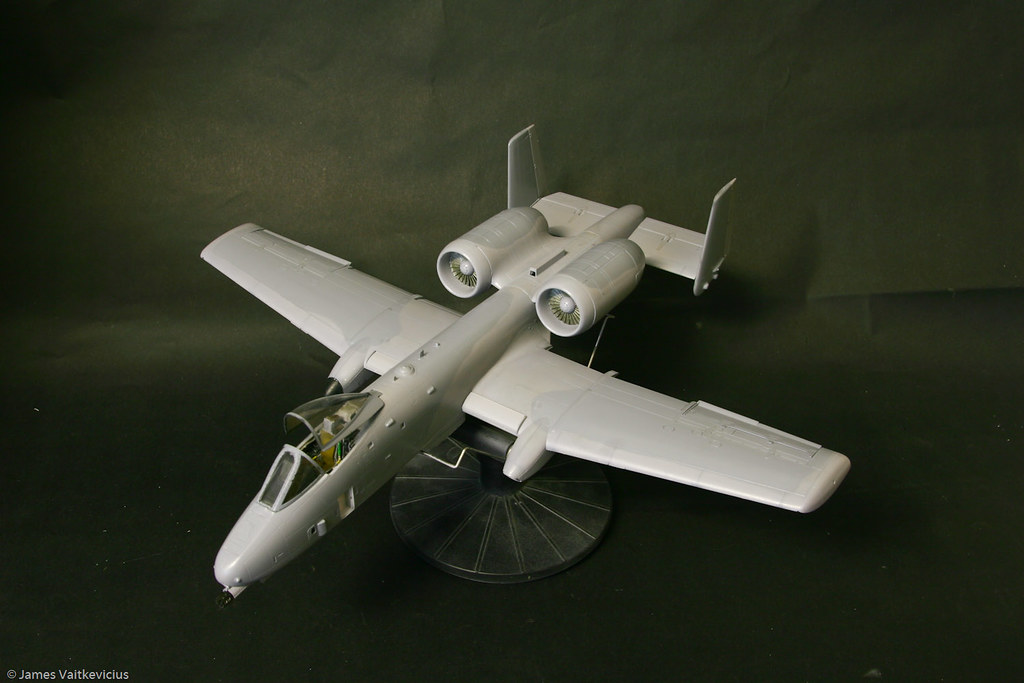
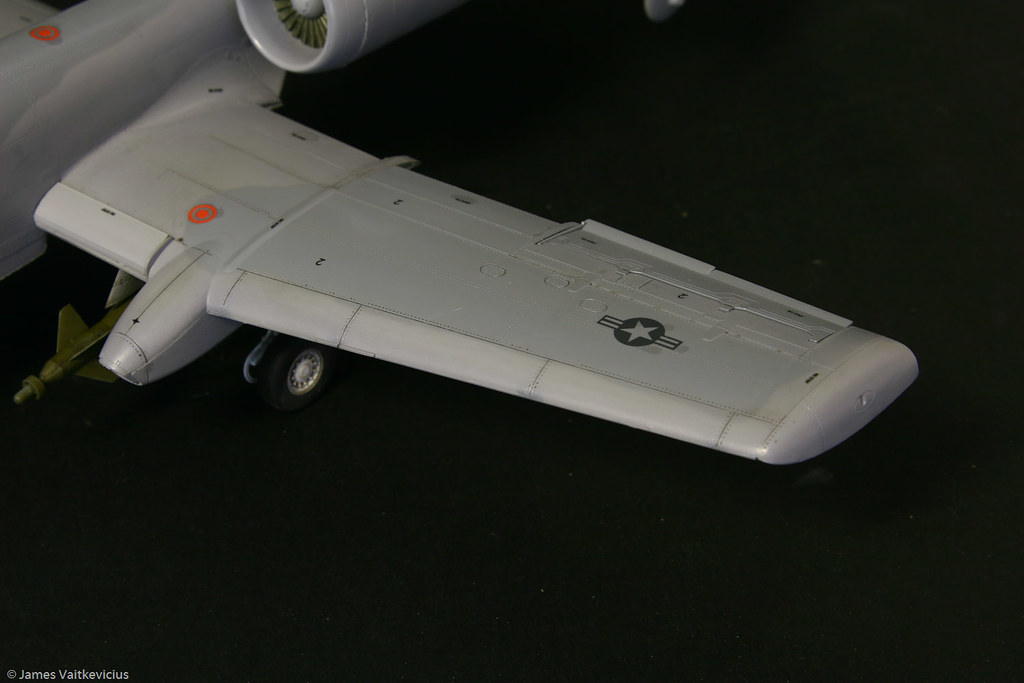
Also - STOP! Filler Time! :'(

Image

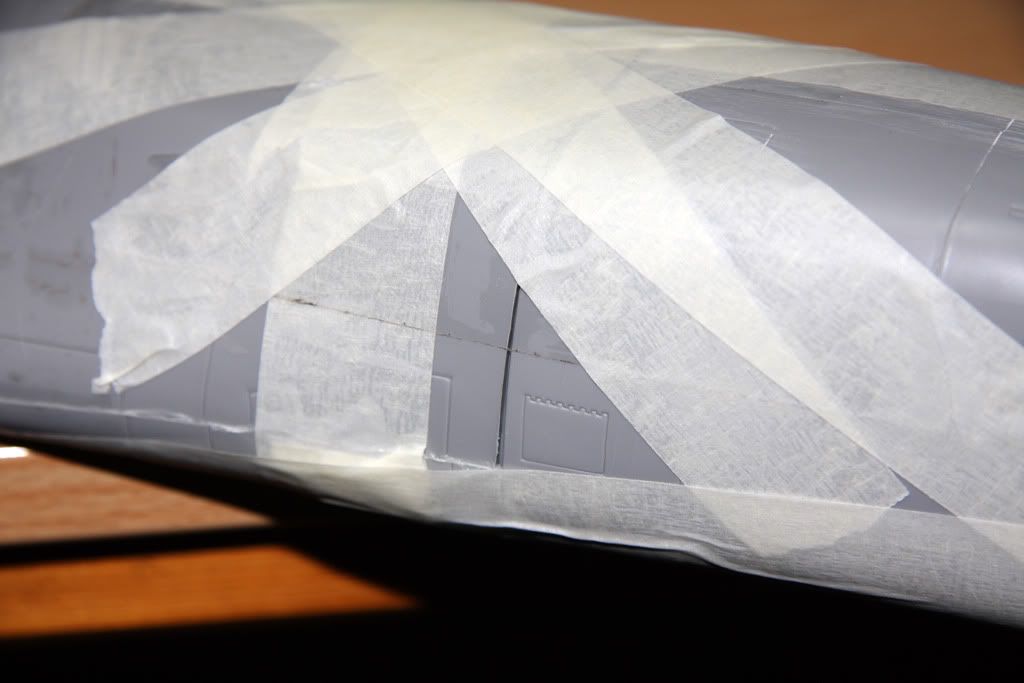
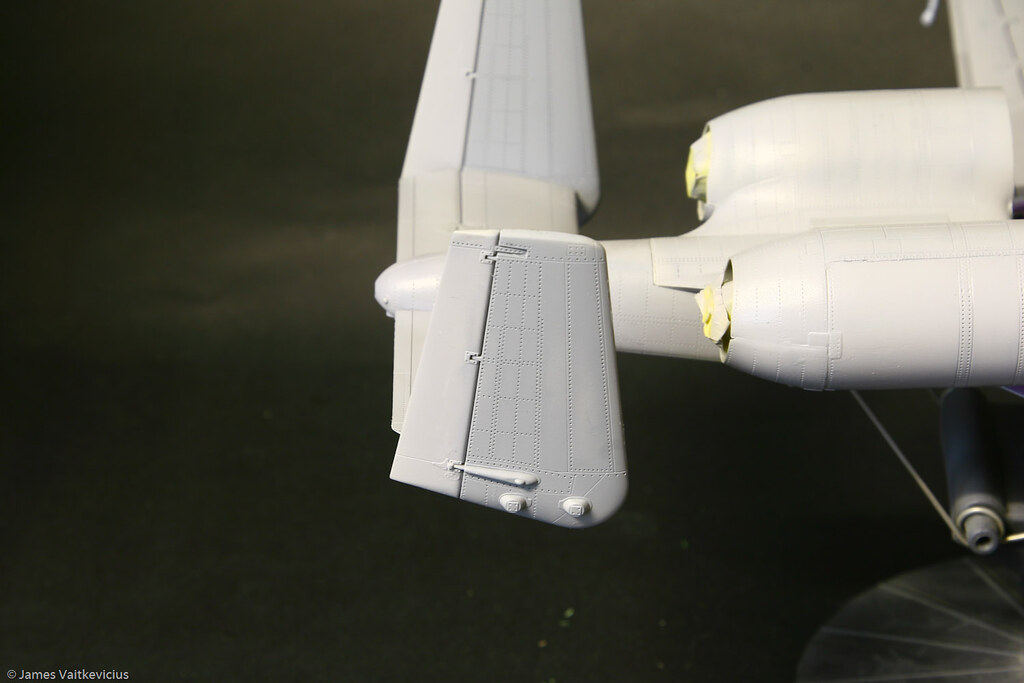
That's the seam between the front and main fuselage sections - break out the Milliput I think!

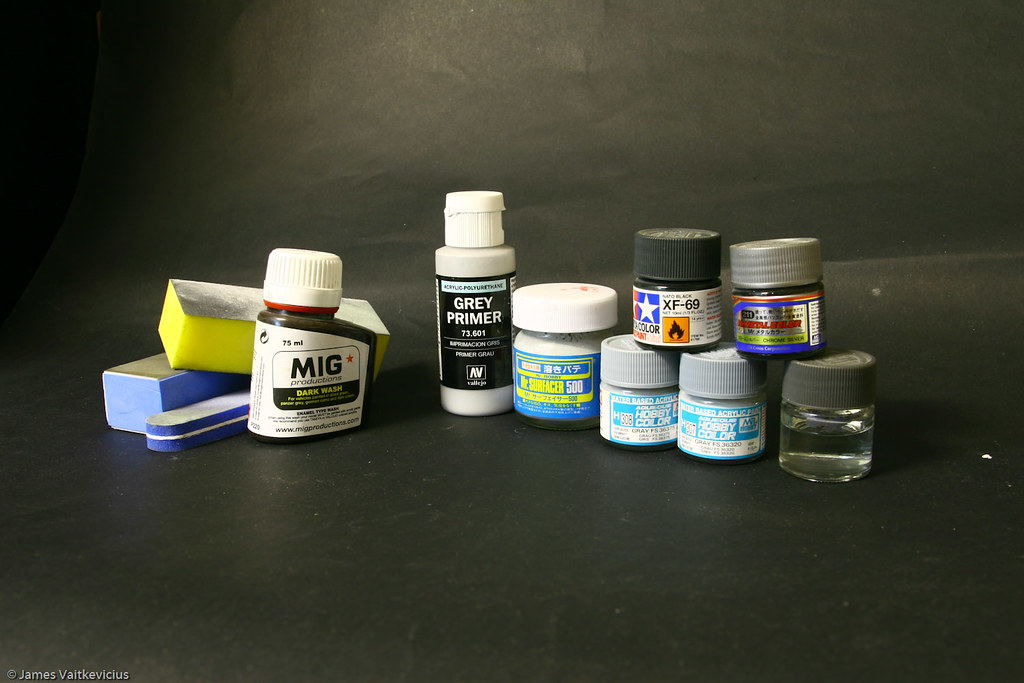
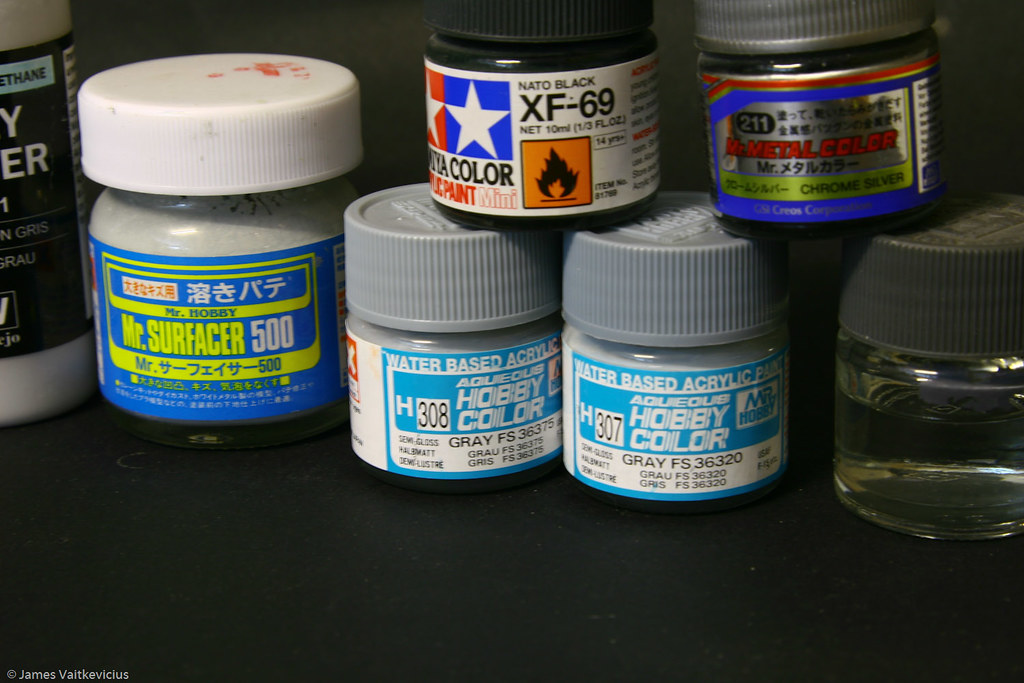
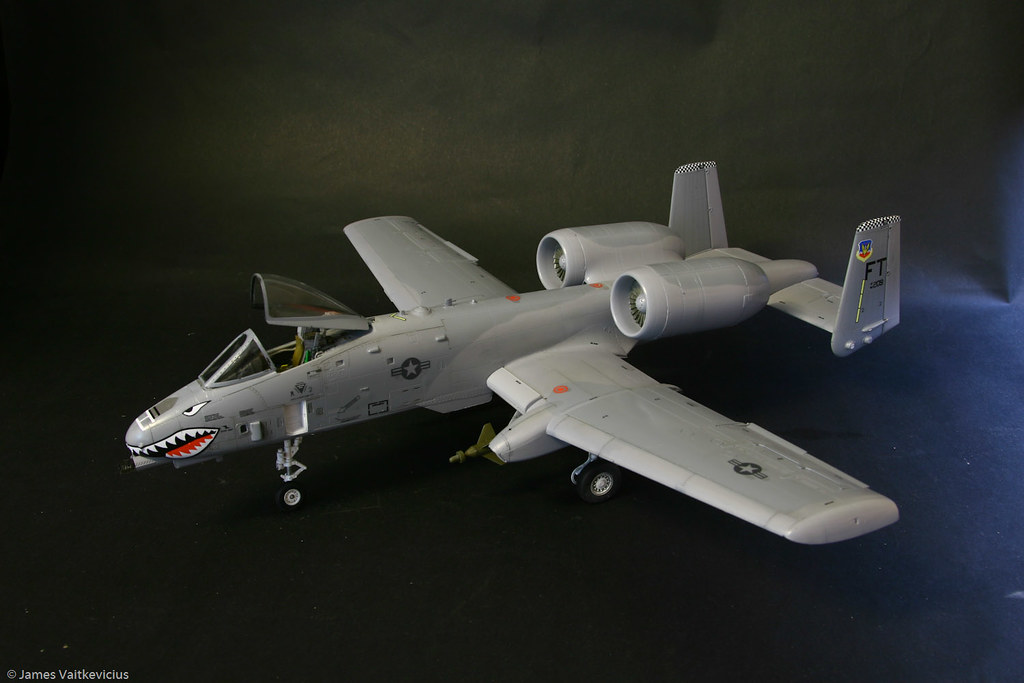
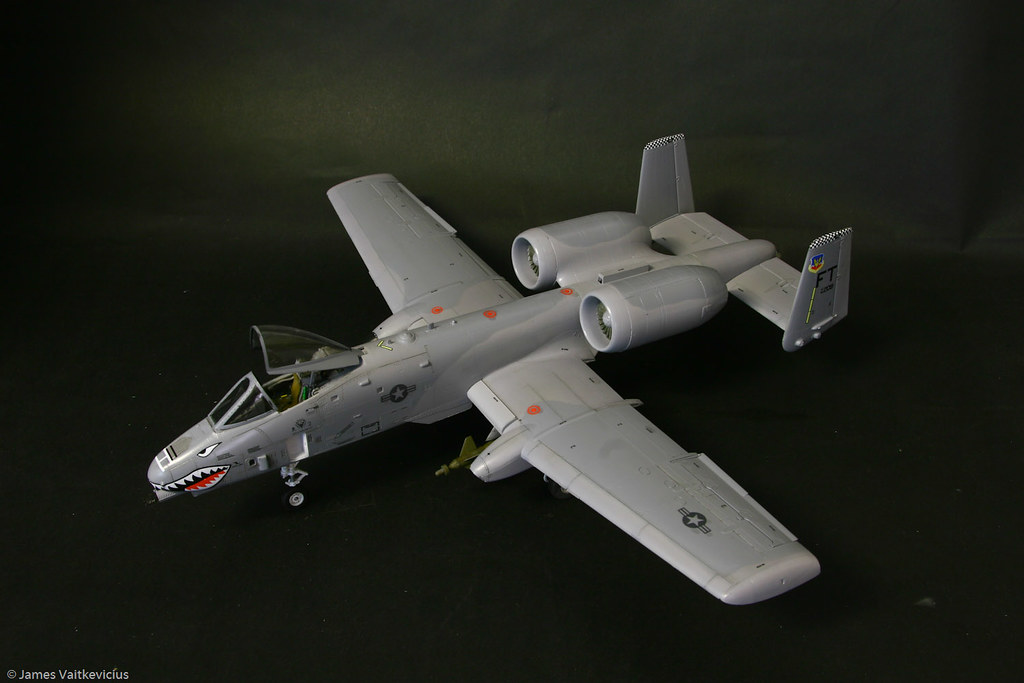
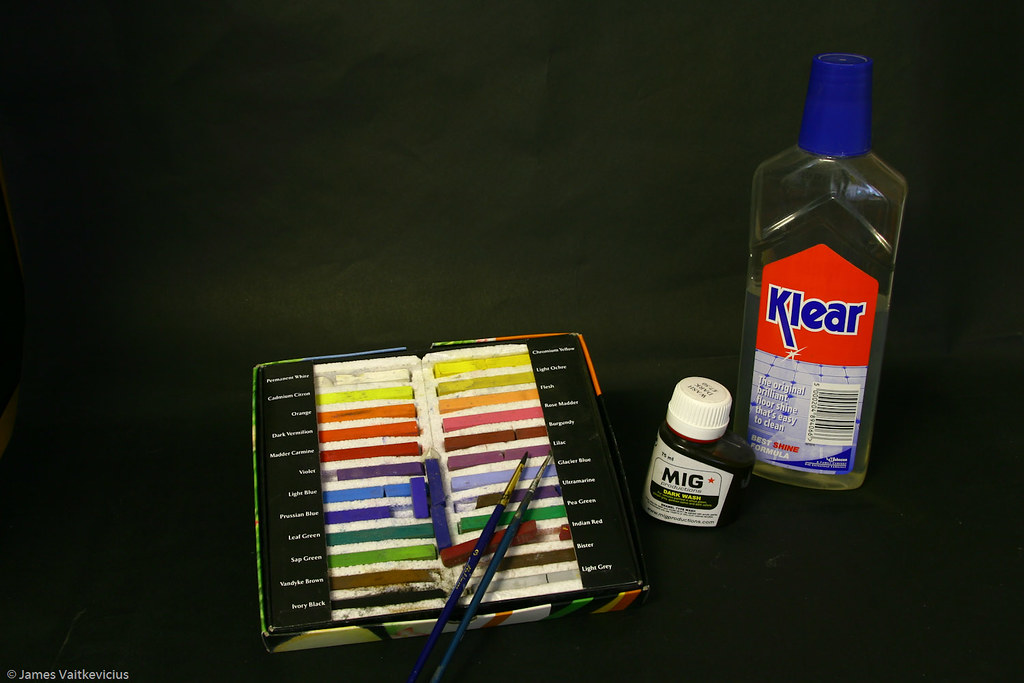
More to come as and when :thumb:

markmarples

Re: Revell 1/48 B-1B Lancer - "Update" Two.

Post by markmarples » Mon Dec 13, 2010 8:16 am

looking good, but pleas eclean your floor! :whistle:

User avatar
Ben Montgomery
Moderator
Posts: 8156
Joined: Fri Oct 02, 2009 4:16 pm
Location: Cambridge
Contact:

Re: Revell 1/48 B-1B Lancer - "Update" Two.

Post by Ben Montgomery » Mon Dec 13, 2010 9:36 pm

That's what a solid weekend of modelling looks like! :lol:

Don't worry - it's much better now, back to normal.

jamesv9820
Posts: 737
Joined: Wed Oct 07, 2009 7:31 pm

Re: Hawg Heaven???? A-10A Thunderbolt II

Post by jamesv9820 » Mon Dec 13, 2010 10:46 pm

HI Guys

Another update as I seem to be cracking on with this, however saying that we do not have long left until the end of the competition!

Anyway we start with the paints and ancillaries; I find this the most important part of the build before we get going. If you see the pictures below you can see a small selection of what is used to get me to tonight’s progress.

Image

Image

If you have read some of my comments on here regarding paints, you probably know I have a different view of what paints I use and what I think are better to spray thorugh the brush. I have just found through experience that the Mr Hobby Gunze paints are a true dream to work with. They are also a fantastic match to the FS numbers used with most air forces so I cannot recommend them highly enough! I have included a picture of the Mr Surfacer 500 as this is excellent stuff for general filling – it is like a liquid filler which can be easily sanded back.

We start with the primer and pre shade. I used two coats of Vallejo Grey primer. It is the first time I have used this and I have to say it is a dream to work with. No thinning required, it flowed through the brush with easy and gave such a smooth finish. This was left to dry and rubbed back with the sanding sponges (pictured above) and then a final coat of primer given. Another quick rub back with the sponges was given and then left to dry for a short time.

The next stage for me is to pre shade the model. As you can see I am not the best at free handing with an airbrush but for the purpose of what I am trying to achieve it does not really matter at this point. I used Tamiya XF-69 NATO Black to pre shade the model with along all recessed panel lines as seen below:

Image

Image

This was again rubbed back with the sanding songes to ensure a nice smooth finish and polished back to remove any excess before the main coats of paint were added.

First was the application of H308 (FS36375) which is the main airframe colour. Thin coats of thinned paint (about 60/40 paint/thinner) mix were sprayed through the brush and again rubbed ack once the paint had dried and hardened a little. You will see from the photos that I still have a final coat to do as there are still some areas where the pre shade is too prominent but I will hopefully sort this after I have posted this on!

Image

Image

Image

Image

More to follow soon where I am hoping to post shade some of the panels before the final darker shade of grey will be added.

User avatar
Thunder
Posts: 5303
Joined: Sat Jan 02, 2010 10:24 pm

Re: Hawg Heaven???? A-10A Thunderbolt II

Post by Thunder » Mon Dec 13, 2010 11:14 pm

Coming along nicely James. The Open bay looks nice and the fit looks good as well, is there a PE frame to go with it?

Pre shading in my eyes should be just what you have done, as when have you ever seen an a/c that has weathered equally all over. Are you going to enhance the weathering with a post shade as well?

Unfortunately with positives there tends to be some negativity and I have one gripe with regards the Engine Intakes, aren't they White on the A10 :whistle:

markmarples

Re: Hawg Heaven???? A-10A Thunderbolt II

Post by markmarples » Mon Dec 13, 2010 11:18 pm

well done mate looks cool

jamesv9820
Posts: 737
Joined: Wed Oct 07, 2009 7:31 pm

Re: Hawg Heaven???? A-10A Thunderbolt II

Post by jamesv9820 » Mon Dec 13, 2010 11:23 pm

Cheers guys,

Engine intakes are indeed white, I have not as yet painted these as I have only sorted the Alclad for the bladesand what you are seeing is the over spray from this. I will get sorted in due course. I am also intending to post shade some of the upper panels to give a bit of contrast on what would be a very clean "paintshop" scheme! Hopefully i won't mess this up and it will look good. The Avionics Bay does not have any PE and is a bit expensive for the price but it is quite highly detailed for what you get. Certainly not up to the fantastic Verdilin set I have seen on your porevious Phantoms Scott.


Thunder wrote:Coming along nicely James. The Open bay looks nice and the fit looks good as well, is there a PE frame to go with it?

Pre shading in my eyes should be just what you have done, as when have you ever seen an a/c that has weathered equally all over. Are you going to enhance the weathering with a post shade as well?

Unfortunately with positives there tends to be some negativity and I have one gripe with regards the Engine Intakes, aren't they White on the A10 :whistle:

User avatar
Thunder
Posts: 5303
Joined: Sat Jan 02, 2010 10:24 pm

Re: Hawg Heaven???? A-10A Thunderbolt II

Post by Thunder » Mon Dec 13, 2010 11:39 pm

jamesv9820 wrote:Cheers guys,

Engine intakes are indeed white, I have not as yet painted these as I have only sorted the Alclad for the bladesand what you are seeing is the over spray from this. I will get sorted in due course. I am also intending to post shade some of the upper panels to give a bit of contrast on what would be a very clean "paintshop" scheme! Hopefully i won't mess this up and it will look good. The Avionics Bay does not have any PE and is a bit expensive for the price but it is quite highly detailed for what you get. Certainly not up to the fantastic Verdilin set I have seen on your porevious Phantoms Scott.

James,

I've just checked some photo references with regards the Engine Intakes, and it would appear that not all of A10's are/were White. Alot of them have a continuation of the Grey or in the case of many years ago the Green right up to the compressor faces

http://www.istockphoto.com/file_thumbvi ... detail.jpg" onclick="window.open(this.href);return false;
http://farm5.static.flickr.com/4087/497 ... 9233_z.jpg" onclick="window.open(this.href);return false;

http://www.nationalcoldwarexhibition.or ... 20II_l.jpg" onclick="window.open(this.href);return false;
http://www.reocities.com/~propilot/pictures/A-10big.jpg" onclick="window.open(this.href);return false;

http://www.aviationexplorer.com/Commerc ... s/a-10.jpg" onclick="window.open(this.href);return false;
http://i152.photobucket.com/albums/s196 ... ight-2.jpg" onclick="window.open(this.href);return false;


Check your references against the actual a/c :thumb:


What make is the Avionics bay? I found that the Verlinden one for the F-4E to be rather poor when put against the Aires ones for the RF-4, F16 and A7 ones.

jamesv9820
Posts: 737
Joined: Wed Oct 07, 2009 7:31 pm

Re: Hawg Heaven???? A-10A Thunderbolt II

Post by jamesv9820 » Mon Dec 13, 2010 11:45 pm

The bay is an Aires one, not too bad, quite well deatiled but made from two resin components

Thank you for the reference pics. It is also interesting to see that there is a lot of variation on the grey schemes..... Is there a standard paint scheme for the two tone grey, if that makes sense?

User avatar
Thunder
Posts: 5303
Joined: Sat Jan 02, 2010 10:24 pm

Re: Hawg Heaven???? A-10A Thunderbolt II

Post by Thunder » Tue Dec 14, 2010 12:19 am

The "Ghost Grey" scheme came into being around 1992, but even by 1995 this had already started to show signs of variation in the actual pattern between a/c .

I think now they all look like this, note the Darker Grey on top of the Engine Nacelles and the Lighter Grey on the Fuselage above the Wing Root also on Top of the Wing in the same area.

http://cdn-www.airliners.net/aviation-p ... 779071.jpg" onclick="window.open(this.href);return false;
http://cdn-www.airliners.net/aviation-p ... 767178.jpg" onclick="window.open(this.href);return false;

Topsides

http://cdn-www.airliners.net/aviation-p ... 767370.jpg" onclick="window.open(this.href);return false;
http://cdn-www.airliners.net/aviation-p ... 766019.jpg" onclick="window.open(this.href);return false;
http://cdn-www.airliners.net/aviation-p ... 603962.jpg" onclick="window.open(this.href);return false;

However this is one interesting variation on the Engine Nacelles

http://cdn-www.airliners.net/aviation-p ... 828042.jpg" onclick="window.open(this.href);return false;

jamesv9820
Posts: 737
Joined: Wed Oct 07, 2009 7:31 pm

Re: Hawg Heaven???? A-10A Thunderbolt II

Post by jamesv9820 » Tue Dec 14, 2010 8:23 am

Scott,

Thank you for taking the time and posting these for me. To be honest I never thought of looking on A.net for photo reference. Sometimes I can be so thick!

They have certainly helped and hopefully I can get the final coat on over the next few days.

James

jamesv9820
Posts: 737
Joined: Wed Oct 07, 2009 7:31 pm

Re: Hawg Heaven???? A-10A Thunderbolt II

Post by jamesv9820 » Tue Dec 14, 2010 8:34 pm

Hi Guys,

Just a small update today. Following the application of the first light coat H308 (FS36375) my attention was now drawn to the second and slightly darker grey used on this camouflage scheme. The second colour I will be using is FS36320 (H307) which is only slightly darker than the previous colour.

Before any spraying takes place, the surface is prepared with a couple of light coats of Johnsons Klear furniture polish. This acts as a varnish sealing the pain underneath to avoid any side affects that could be associated when (and speaking from personal experience) Blue-Tack and Humbrol Maskol go anywhere near my aircraft!

Image


Image


The Blue Tack is rolled into thin sausages and placed into the desired shape to act as a demarcation in preparation for spraying. The Maskol is added at this point and left for 30 minutes or so to dry. I have found in previous models that if you play around with the model while this is drying, it somehow peels the paint off underneath!

The model is now sprayed in H307 and then the Blue Tack and Maskol removed…

Image


Image

Also a quick look at the console going forward as I noticed I missed this before. I know I have a bit of overspray to clear up but this is a simple 2 minute job!

Image

And this is where I am tonight!

markmarples

Re: Hawg Heaven???? A-10A Thunderbolt II

Post by markmarples » Tue Dec 14, 2010 8:39 pm

i like the maskol idea i normal use postit notes cut up in to strips

jamesv9820
Posts: 737
Joined: Wed Oct 07, 2009 7:31 pm

Re: Hawg Heaven???? A-10A Thunderbolt II

Post by jamesv9820 » Tue Dec 14, 2010 8:42 pm

I sued to use loads of Tamiya tape... if you can get on with Maskol it is good stuff to use!

jamesv9820
Posts: 737
Joined: Wed Oct 07, 2009 7:31 pm

Re: Hawg Heaven???? A-10A Thunderbolt II

Post by jamesv9820 » Sat Dec 18, 2010 3:04 pm

A bit of an update today, got quite a few photos to post on here, just tell me if I am putting too many on!

One the two tone Ghost Grey scheme was finished, The canopy sections were sprayed with NATO Black at first and then finished in H307 (Grey). The reason the NATO Black is sprayed first is to darken the inside of the canopy to make it look realistic.

Image

Image

The model is posed here looking very clean indeed but I think it is not starting to come together? The majority of the paint scheme has now been completed. The engine fan blade were painted by hand using a mix of Tamiya XF-56 (Metallic Grey) and Tamiya X-26 (Clear Orange) which gives a dull metallic look without looking too over the top. Prior to leaving over night, two coats of Johnson’s Klear were applied through the airbruch and left to dry.

Image

We are now ready to start the decaling.

The Hobbyboss A-10A Thunderbolt kit comes with two schemes. Both are the Euro 1 Camouflage and not the two tone grey scheme I have opted to go for. With the thanks of Scott (Thunder) I used his references to use the decals available. One of the issues I had is that I wanted to use the “Sharks Mouth” on the front of the plane (looks cool!) but I knew that the EL (England, Louisiana) Air Base has long since gone and I could not find any reference of the aircraft ever being painted grey. A few cuts with the scalpel, and I managed to change the code “EL” into “FT” (Flying Tigers”) who operate their squadron with the “Sharks Mouth” on the front of their jets! Ok I know it is not 100% factual but it works for me!

The decals on the jet went on a dream with no major silvering, probably thanks to the coats of Johnsosn Klear that were applied previously before hand. It is also worthy to note that the airframe was also sanded back with sanding and polishing sticks to give a nice smooth surface. This is very important to ensure the decals adhere to the surface.

Image

Image

Image

Image

Image

Image

Image

Image

Detailing of the undercarriage and the dry fitting of the GBU-10’s! These were lightly weathered/dry brushed in a light grey to bring out the surface detail. The rear undercarriage at this point is only dry fitted and will be installed once all weathering is completed

Image


Once the decals are complete, we can work on the latter part of the kit. This is the part of the kit that I look forward to the most. The majority of the weathering is carried out with MIG wash, and pastels:

Image

You can see from the below photos where the MIG wash has been applied to the front wing section and to the side of the fuselage. This brings out the details of the panel lines a treat. Once the whole airframe is finished the pastels will be brought out to weather the plane further!

Image

Image

Image

More to follow soon

viper3111

Re: Hawg Heaven???? A-10A Thunderbolt II

Post by viper3111 » Sat Dec 18, 2010 4:02 pm

That does look good James,

are the mig washes wash on wash of or do the just brush on and leave like a filter? Ive been dabbling with the mig filters and they are great :thumb: I also like the pigments

jamesv9820
Posts: 737
Joined: Wed Oct 07, 2009 7:31 pm

Re: Hawg Heaven???? A-10A Thunderbolt II

Post by jamesv9820 » Sat Dec 18, 2010 4:08 pm

I usually drop the wash into the recessed panel lines, adn then any excess is just rubbed off with a tissue.

I plan to show how this is doen next. Hopefully I should have this completed next week!

benyboy

Re: Northrop YB-49

Post by benyboy » Sun Dec 19, 2010 2:12 pm

Just the gear doors and a few more decals to go. I might even be finished in time :D

Image

Fentiger
Posts: 52
Joined: Thu May 20, 2010 11:59 am

Re: Hawg Heaven???? A-10A Thunderbolt II

Post by Fentiger » Sun Dec 19, 2010 7:52 pm

Looking superb James. Like the tips as well which should be helping other modellers on here. :clap: :clap:

User avatar
Ben Montgomery
Moderator
Posts: 8156
Joined: Fri Oct 02, 2009 4:16 pm
Location: Cambridge
Contact:

Re: Revell 1/48 B-1B Lancer - "Update" Two.

Post by Ben Montgomery » Mon Dec 20, 2010 4:20 pm

Back home now, and got an order in for more gunship grey - not too much I can do till that turns up. I'm going to get it all filled and sanded later, so hopefully it will start to look like a model! :lol:

Locked

Return to “FC Modelling Competition”

Who is online

Users browsing this forum: No registered users and 13 guests