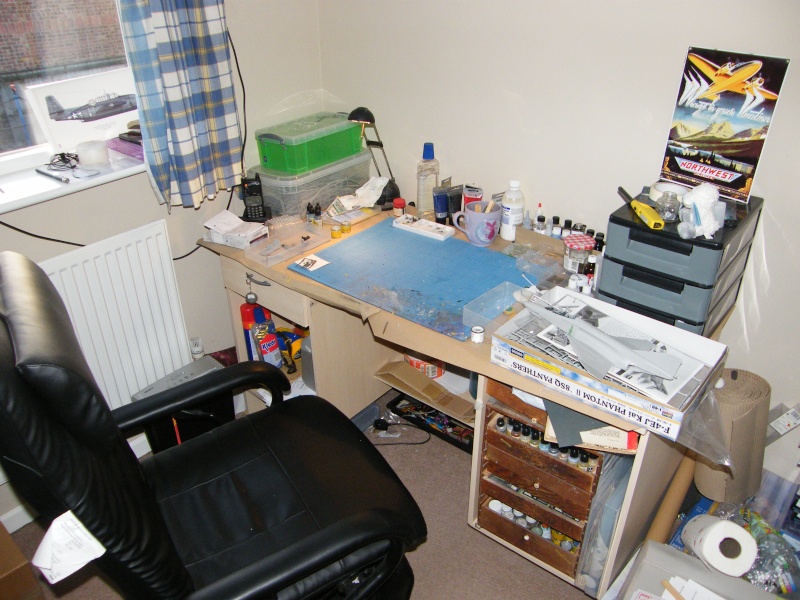
This is my model room (which I share with the Mrs card making gubbins behind me
The idea of this build is not to tell people what to do, but to act as a guide on what is out there and a general guide on how to build your kits. Im sure there are many other ways of doing things but this is how I do it. I'm always open to new ideas so any new/easier ways of doing things is always appreciated.
Please feel free to ask question/comment on what I do as it's been a few years since I did a basic build as I now use resin's, brass, and after market decals to complete my kits. So if you need something explained don't hesitate to ask.
I will be starting with a description of the tools and products that I will be using in this build as well as things that are handy in general. This will include glue, paints, tools, tape and anything else that I use. There will be pictures as well as a description of each item. All things that I use are readily available from you favourite hobby store. I use http://www.relishmodels.co.uk as Graham has some great products at very reasonable prices
Ok lets get started
Glues/cements
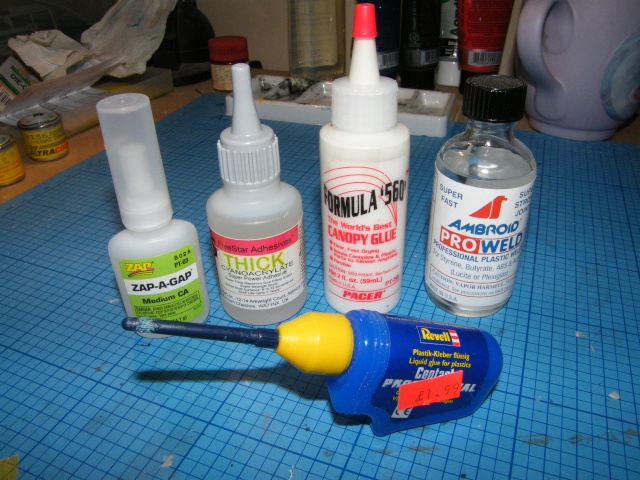
These are:
Revell contacta; which is a cellulose based cement that melts a small layer of styrene on the surface of the part being 'glued'. It differs from a glue as a glue is 'sticky' itself where as the cement isn't until applied to the styrene.
Ambroid Pro; Weld which is similar to the Revell contacta but it is a thin liquid that is applied to the surface with a brush. It comes with a brush attached to the lid but I find that it is to big so I cut it of and use an old small paint brush. It is used in the same way as the Revell but with this you can dry fit the parts together then run some liquid over it and it will go between them to create the weld.
Super glue (medium); This is mainly used for gluing resin and brass parts to your kit. I will not be using it in this build but it is handy to have some. I will come back to the uses of supper glue when I do a slightly more advanced build.
Canopy Glue; This is a water based 'white' glue that is as it says used for gluing canopies and clear parts together. It is slow drying so it is best left over night, but once it is dry it is not only very well 'stuck' but it dries clear.
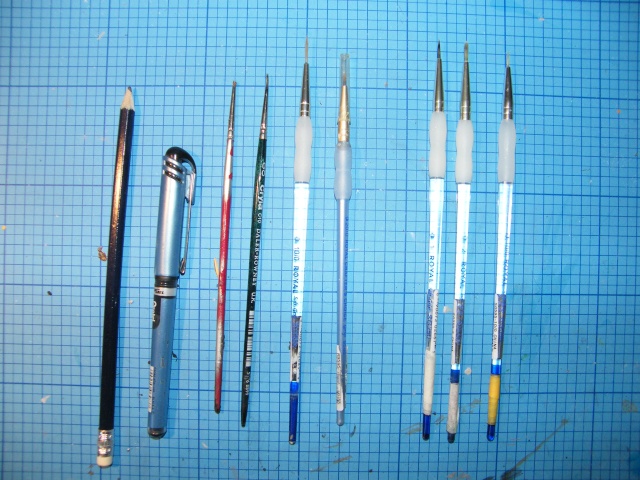
Tools:
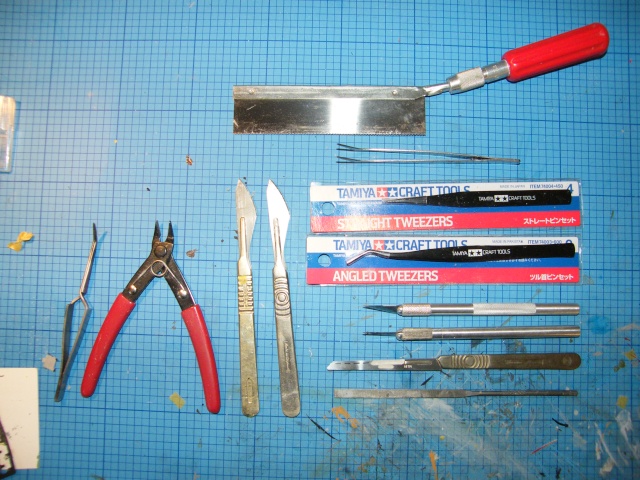
This is a selection of some of the 'basic' tools that you may need.
I find the most important and the most used is a decent set of sprue cutters. Mine are the Italleri set that cost about £4-5 but they will last a very long time providing that they are only used for styrene.
Craft knives; There are many different knives on the market I tend to use various sizes of scalpel and a couple of different X-acto knives. I also use a scalple fitted with a very long/fine saw attached, which is handy for getting to parts that the knives cant reach.
Files; I only use one file as it is just the right grade for all-round cleaning up. There are numerous grades and makes of files so it is purely down to personal preference as to what you choose.
Tweezers; I have many different tweezers but to start with it is best to get a standard pair of 'thin' nose and a set of 'clamping'. The clamping pair are good for holding parts whilst painting and for small parts that require clamping whilst gluing
Razor Saw; This again is mainly for resin parts but is very handy to have. I will come back to that in a later build.
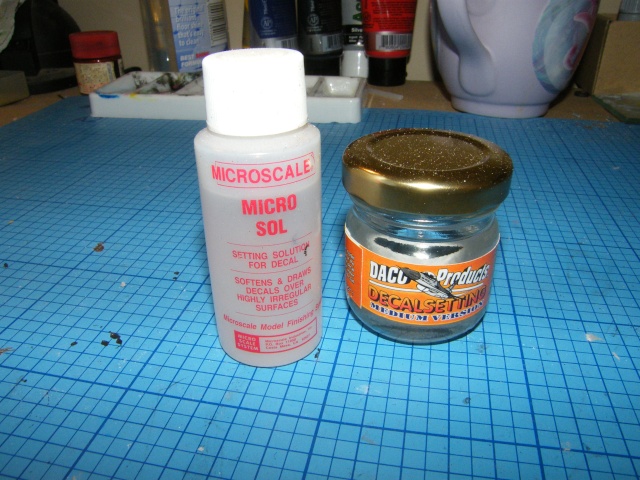
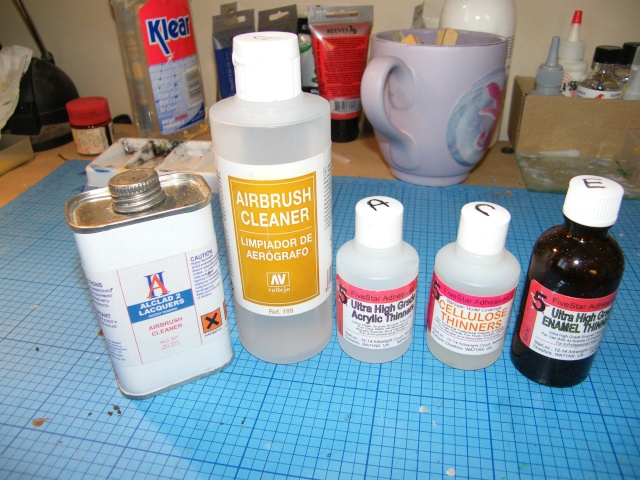
In the next part I will show the other things that are used. I will still be staring the kit in 3 weekends time as this will give me chance to finish the tools/products and acquire the kit.