Thanks for waiting, now that I have my kit I can start this properly.
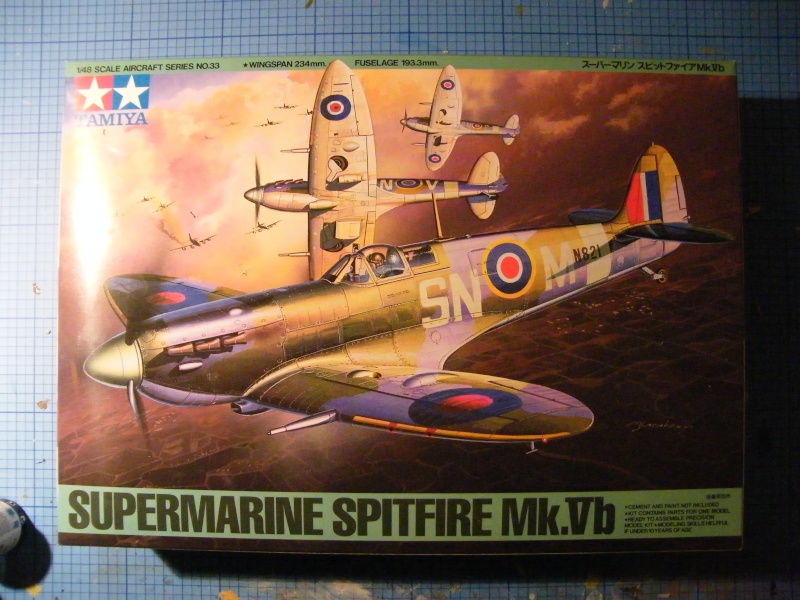
First things first, here is the kit
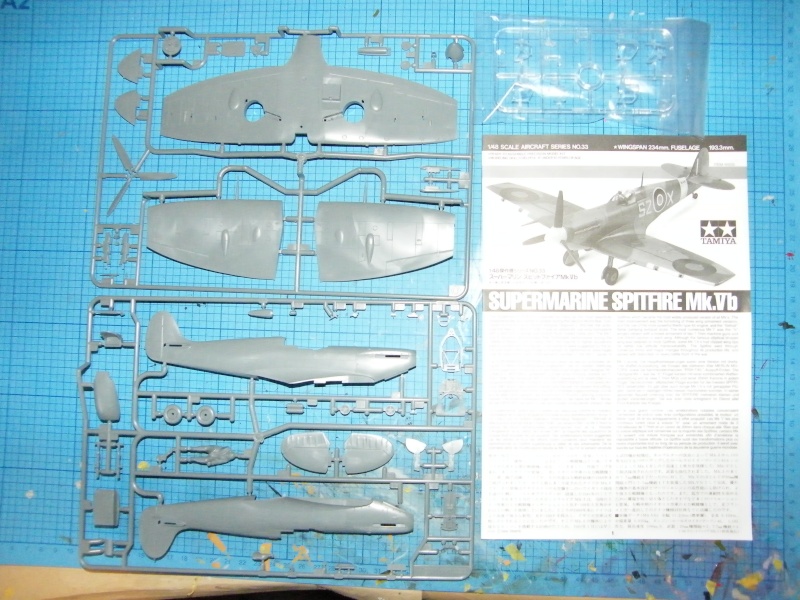
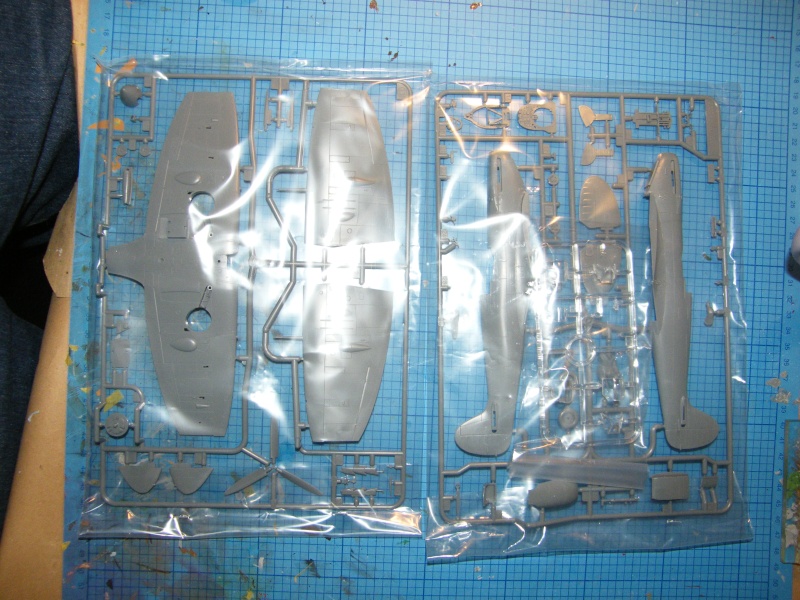
This is a fairly simple kit but there is a nice bit of detailing to get stuck into. It is molded in dark grey styrene with no flash what so ever (which is good for a stater kit). The lay out is nice and straight forward as well, and comprises of 2 'sprues' of grey parts and 1 'sprue' of clear parts. It has a choice of canopy to which I will come back to when building the aircraft. I wont be putting the pilot in but please feel free to put yours in if you wish (I never put the pilots in as I cant paint people to save my life

)
right where to begin, this sounds like an obvious question but when you have been building kits as long as I have it doesn't necessarily mean starting at part '1'. For this build I will stick mainly to the lay out of the plans, but as time goes on you will find that whilst the parts you have just painted or glued can be left to one side you can start another section eg the cockpit is drying so you could start on the drop tanks of armament (aircraft dependant) but you get the idea. This is your hobby so do it how you feel comfortable.
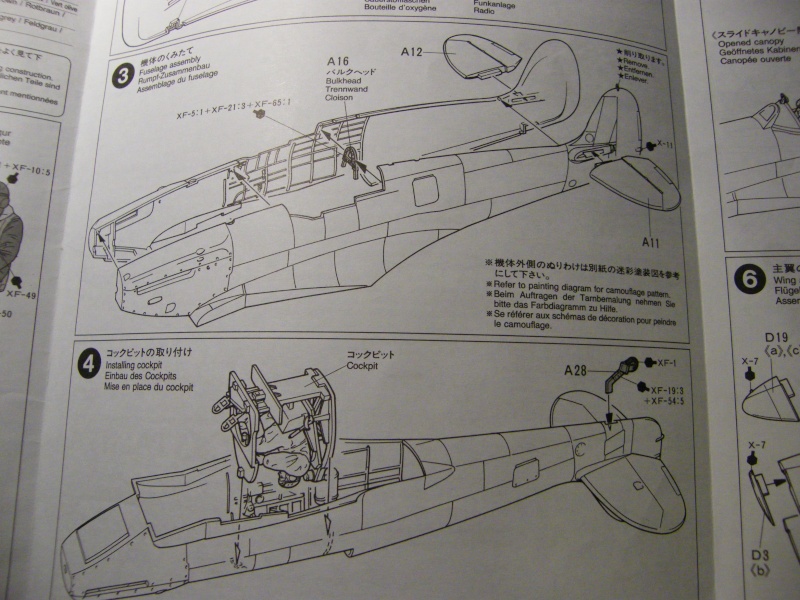
Firstly we have the instructions
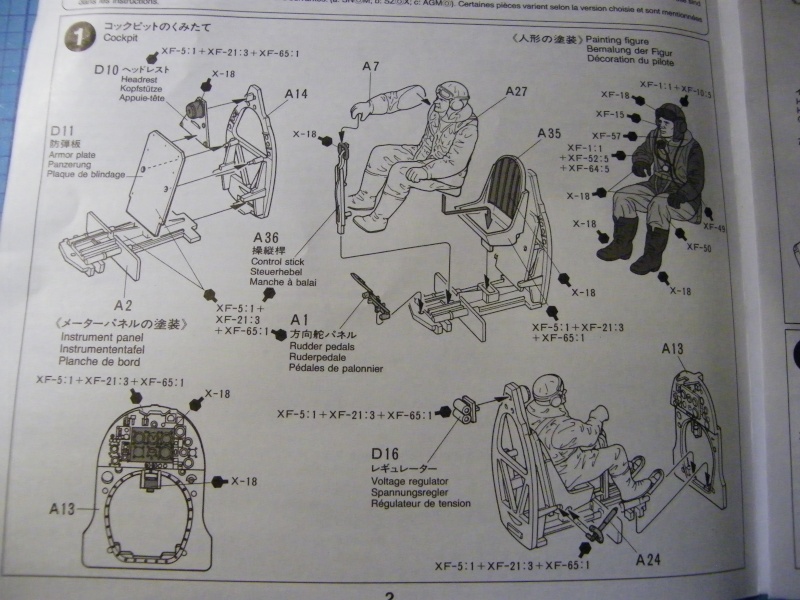
One good thing about Tamiya instruction sheets is that they are clear and well laid out. As a bonus they also tell you what colour pretty much every part is to be painted. It is in there own paint range numbers but these can be easily converted using the paint conversion chart I have posted on the references section. Failing that, on this build if you need to know what colour it is just ask me. I will however point out what paint I am using for what part as I go along. But please if you have a better idea or colour then use that and if you want point it out to myself and other people on here then please do so. I will be posting on here every Saturday so there will be plenty of time during the week for people to post there questions about what we have just done or are about to do after my post.
I will show the part of the instructions first, before I start showing what we are doing. That way we can see where we are up to, but as I said I will be folowing the instructions step by step so we shouldn't get to confused.
OK, here we go
As I always say, if you have any questions please don't hesitate to ask

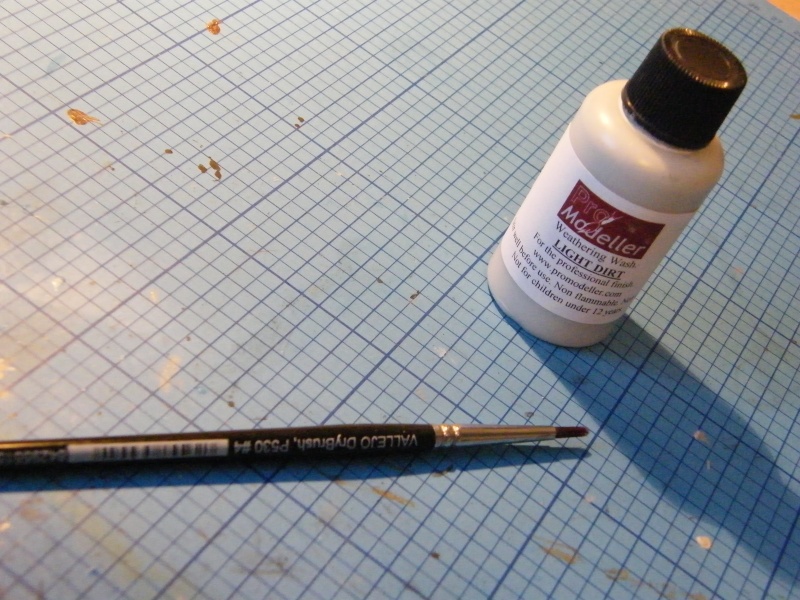
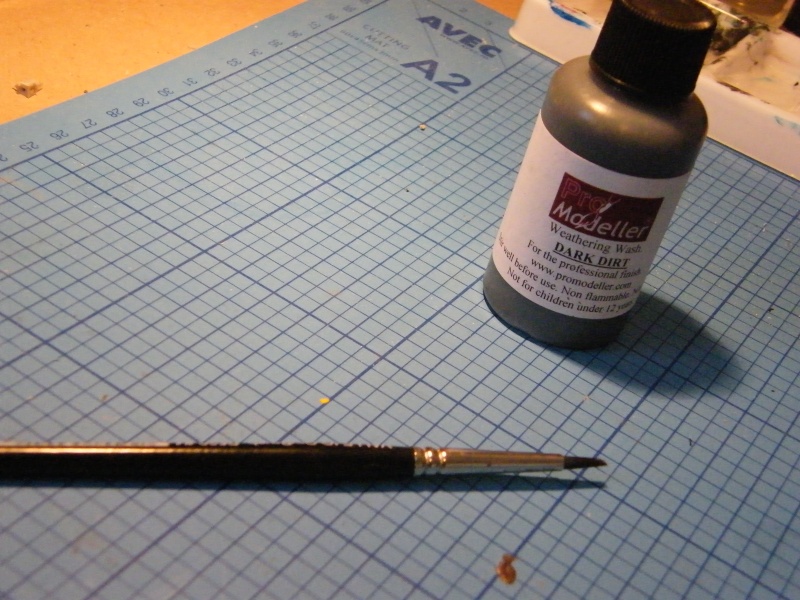
Firstly these are the tools I will be using to start with
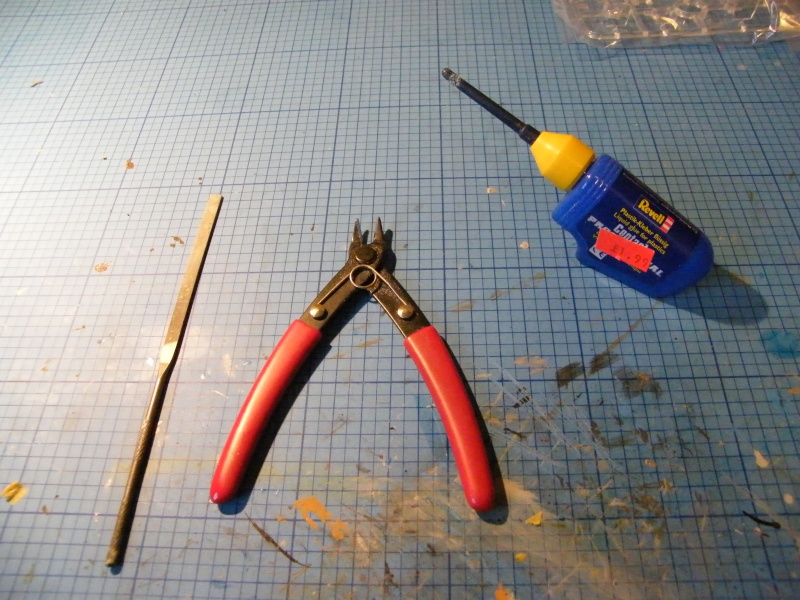
Revell contacta, sprue cutters and my trusty file.
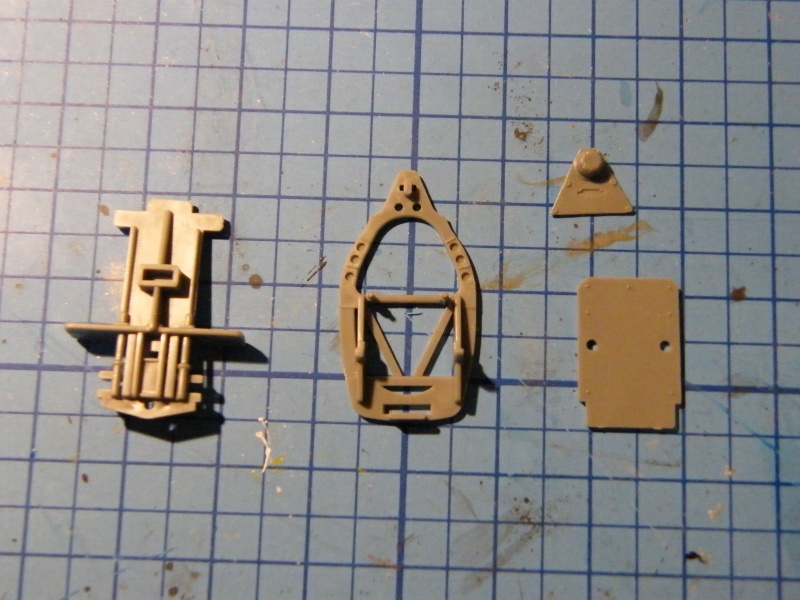
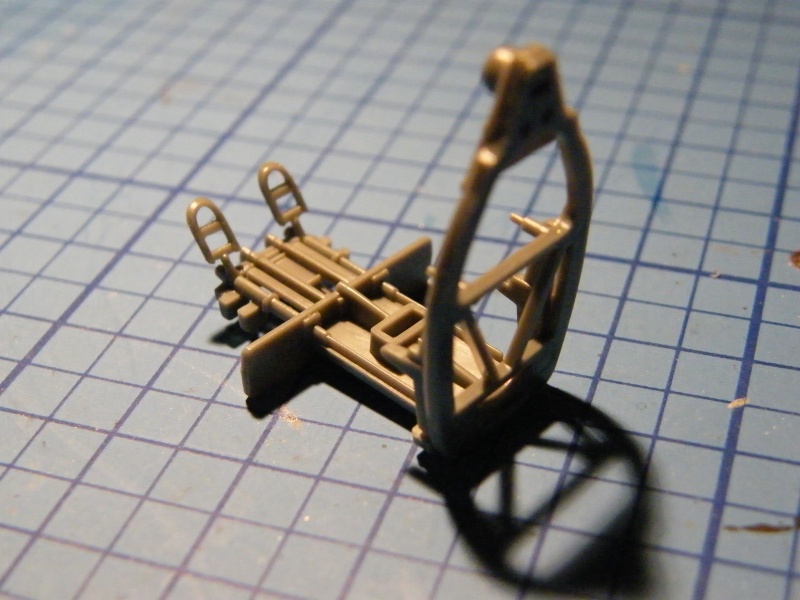
I have removed the first parts of the cockpit from the sprue, the areas were they were attached to the sprues has been cleaned up with the file. Thankfully there is no 'flash' (this is when the molds are not very good or are getting old so the styrene runs out) to clean up so we can move onto dry fitting these parts. I would always recommend dry fitting parts before you glue them as this will ensure a good fit or will point out where any filing or filling may be needed.
There are however a few injector pin marks on some parts. These are easy to get rid of with just a file. Injector pin marks are where the styrene is injected into the molds, some are usually very small but you will find some really do stick out. Thankfully, the majority of them are in places that wont be seen and its just down to personal preference and pride of work as to whether you remove them.
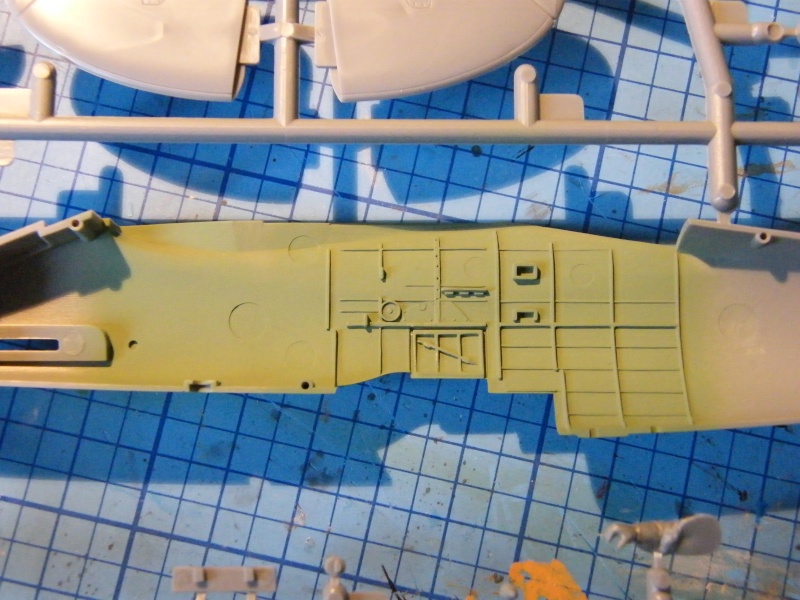
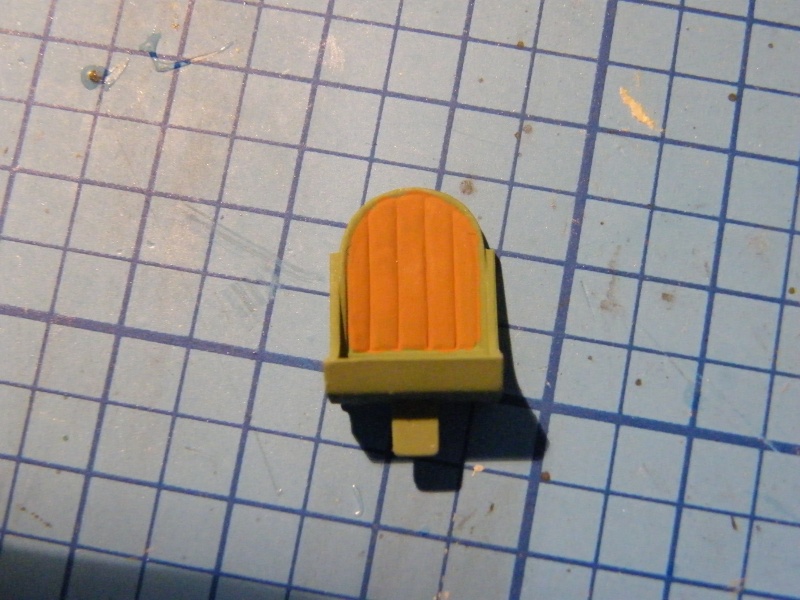
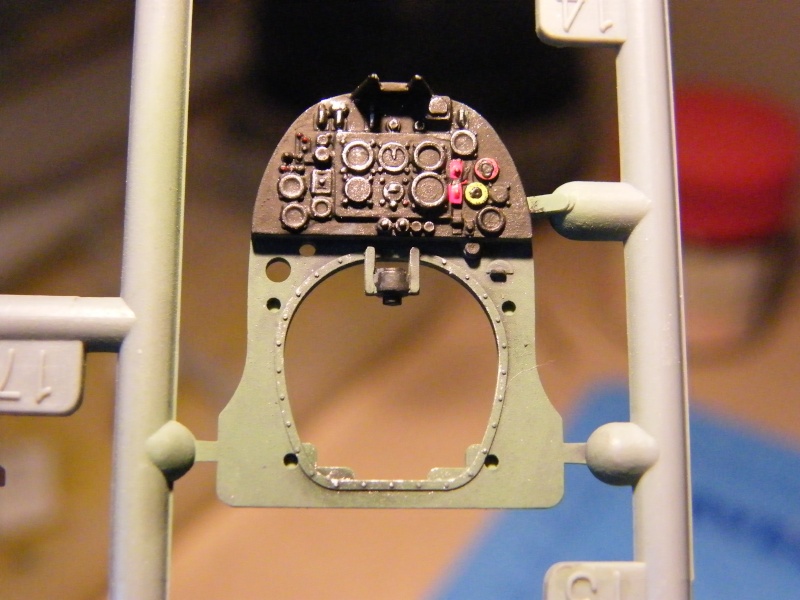
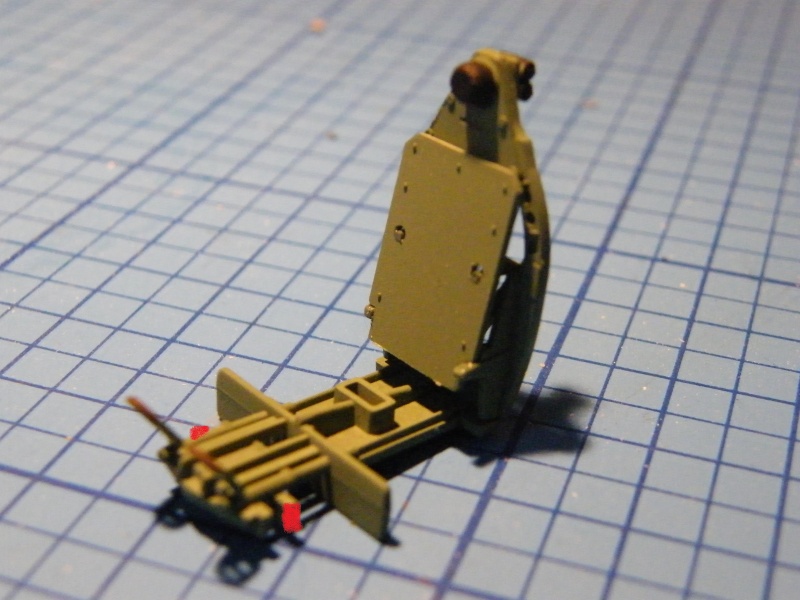
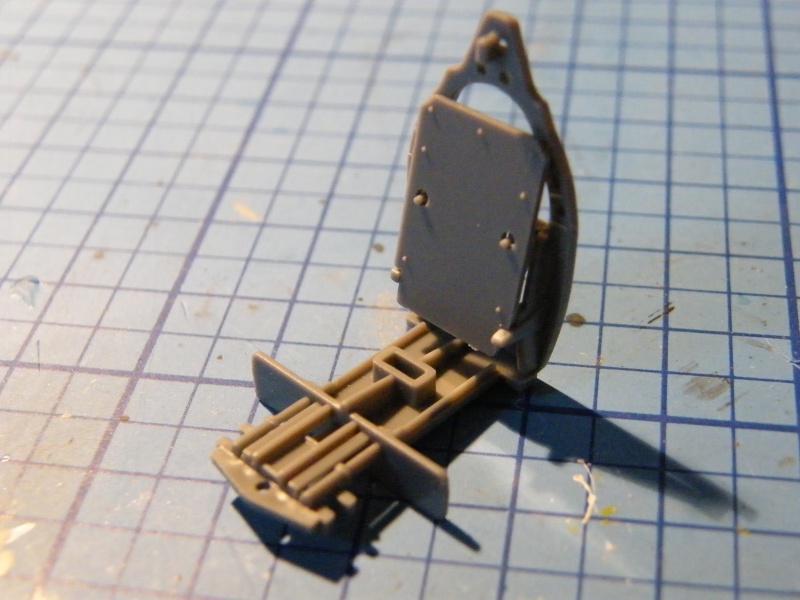
I will be leaving the rear armour plate off for now as it will be easier to paint. I will be spraying mine but please use what ever technique you feel best with. I will of coarse explain what Ive done and how Ive done it as we go along.
But for this I think it is best to leave the plate of for now even if you are brushing it as it will allow you to get to all the parts. You can even leave the plate on the sprue for now as it will be easier to paint what ever way you are doing it.
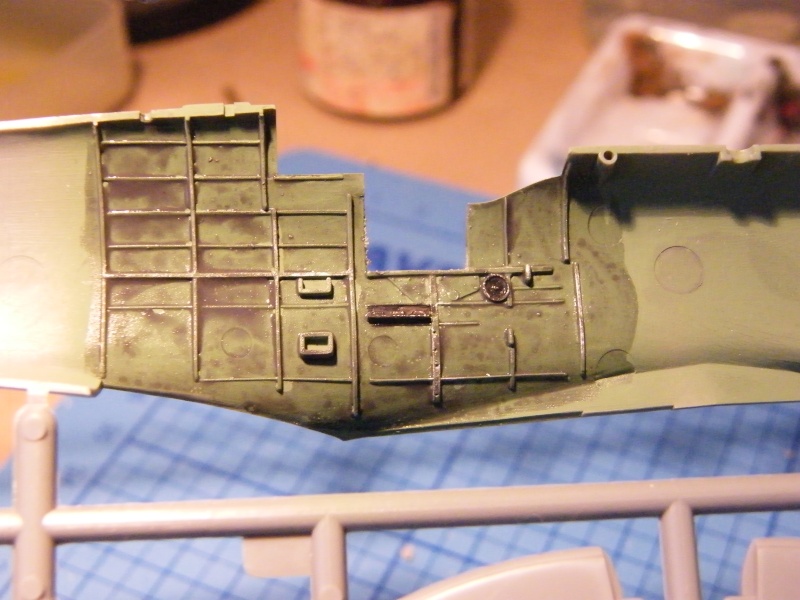
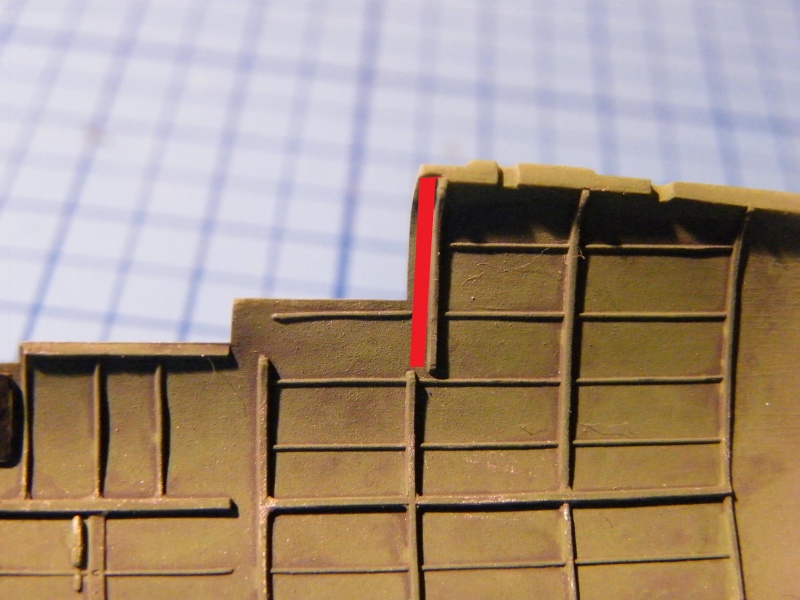
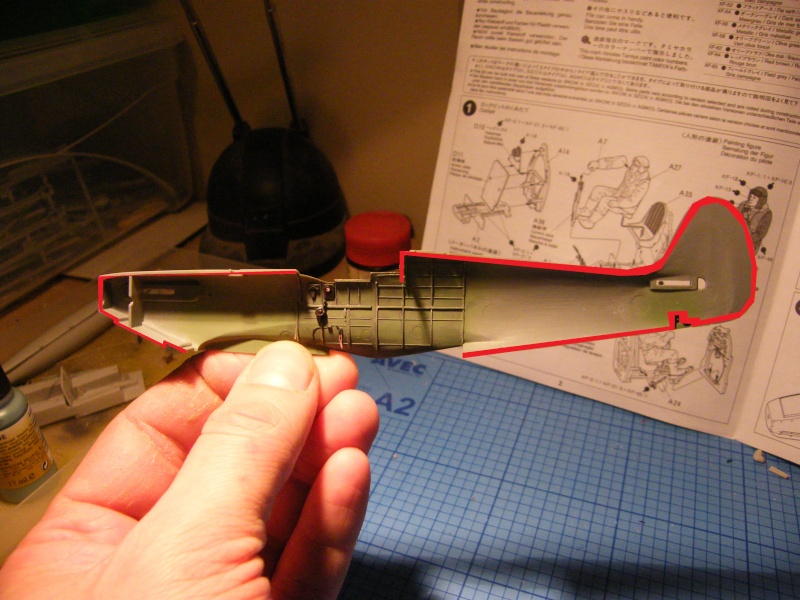
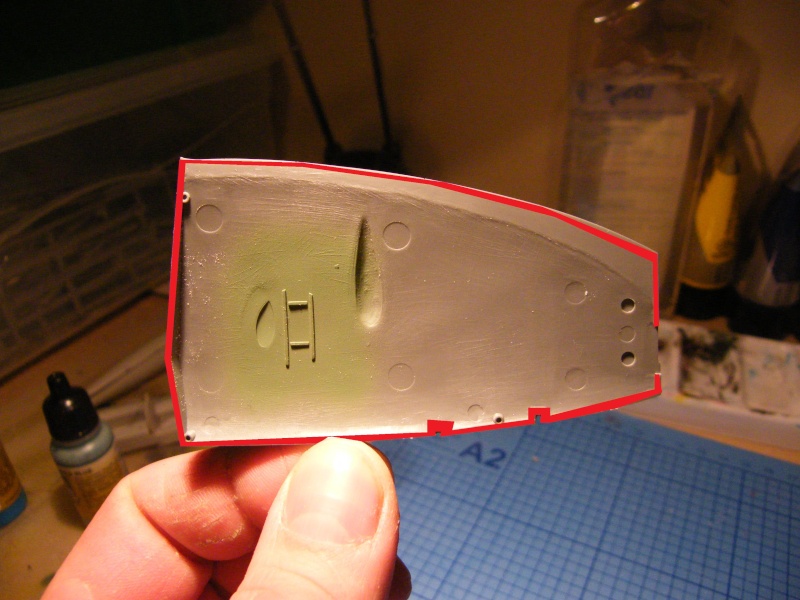
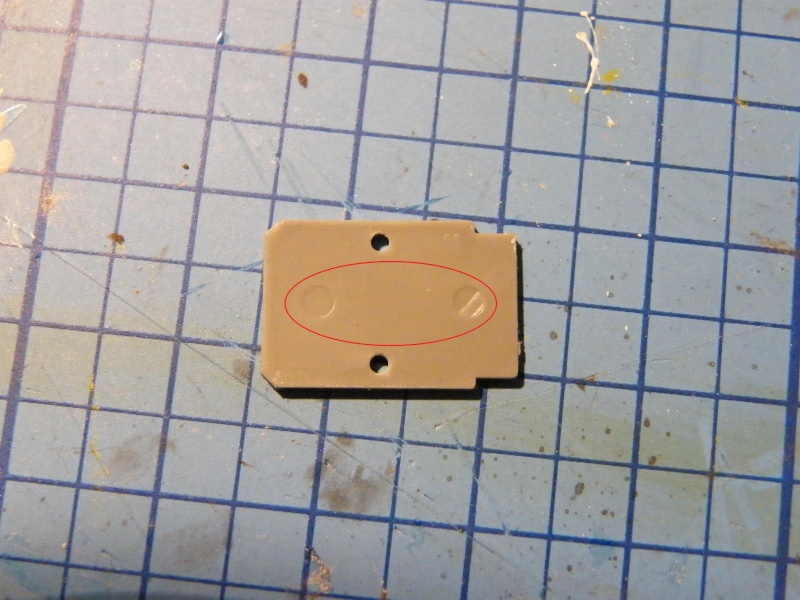
I have run a bead of glue along were the red is on the picture below. Revell contact actually melts the styrene so please use it sparingly.
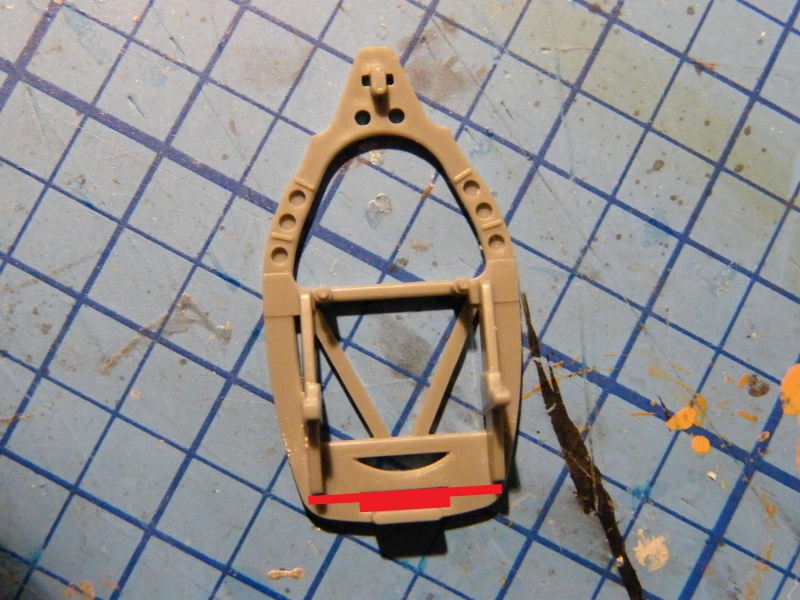
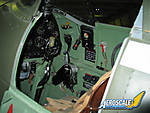
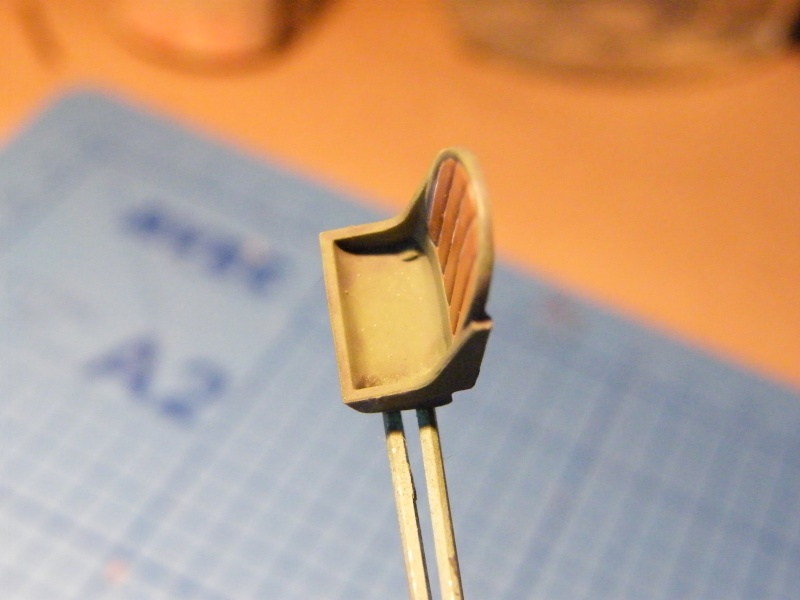
The bottom section of the cockpit has now been fitted
I actually started building on friday, so please don't think I have done this all in one go. The next steps were done on Saturday after the parts I glued friday had dried.
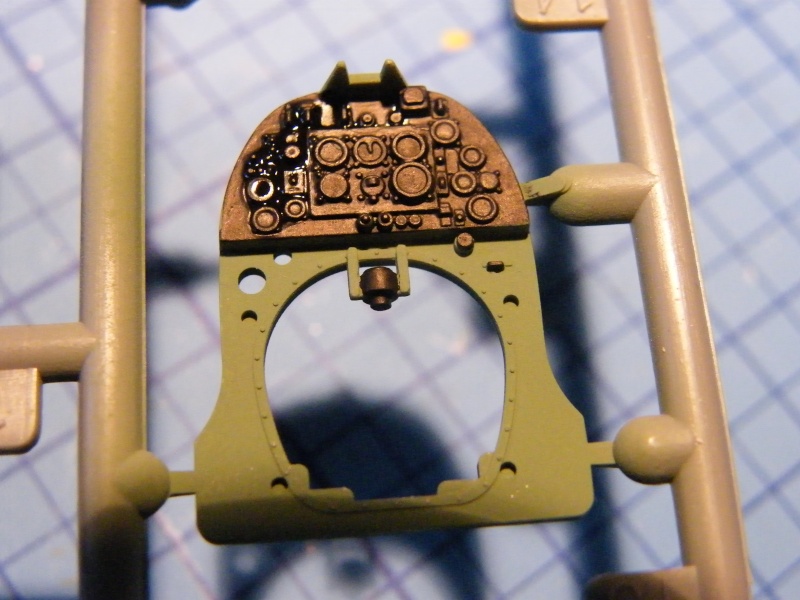
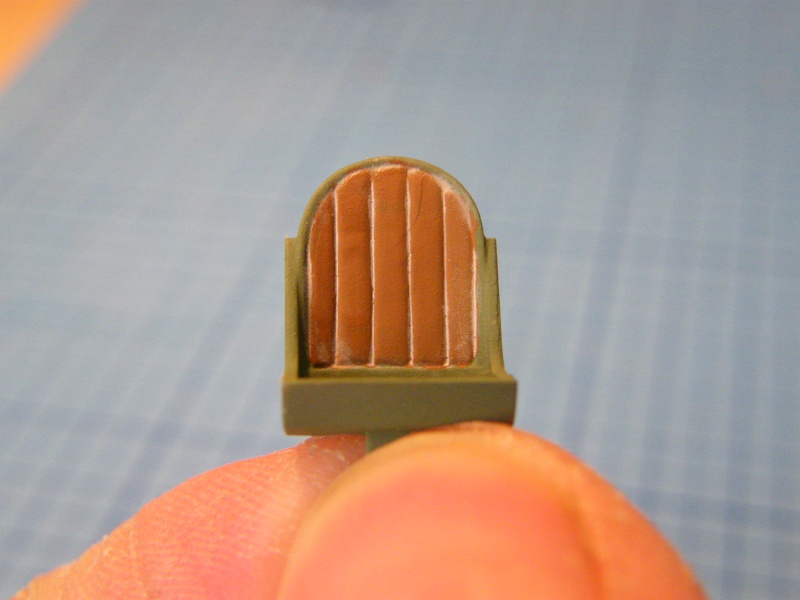
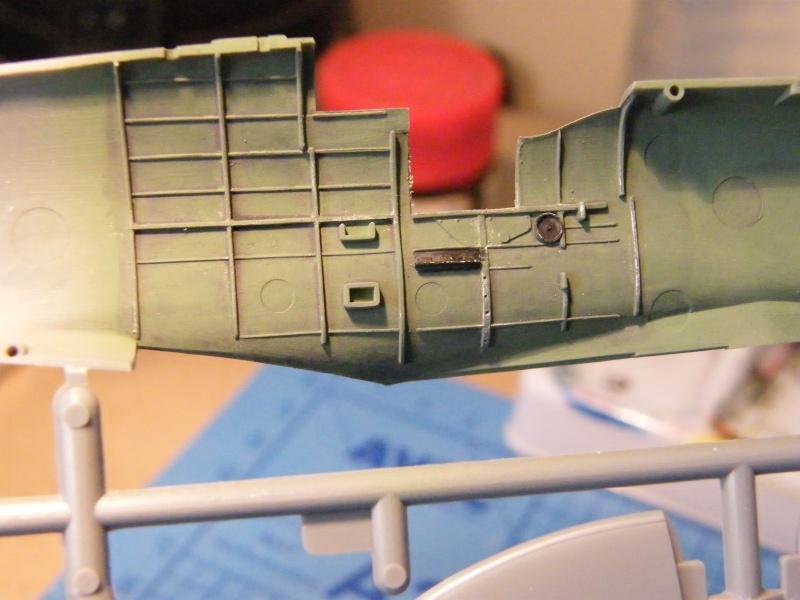
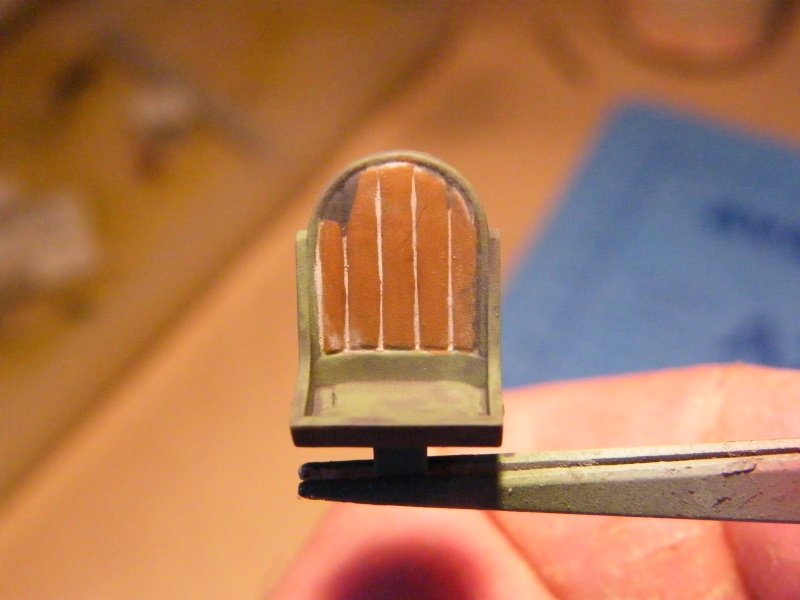
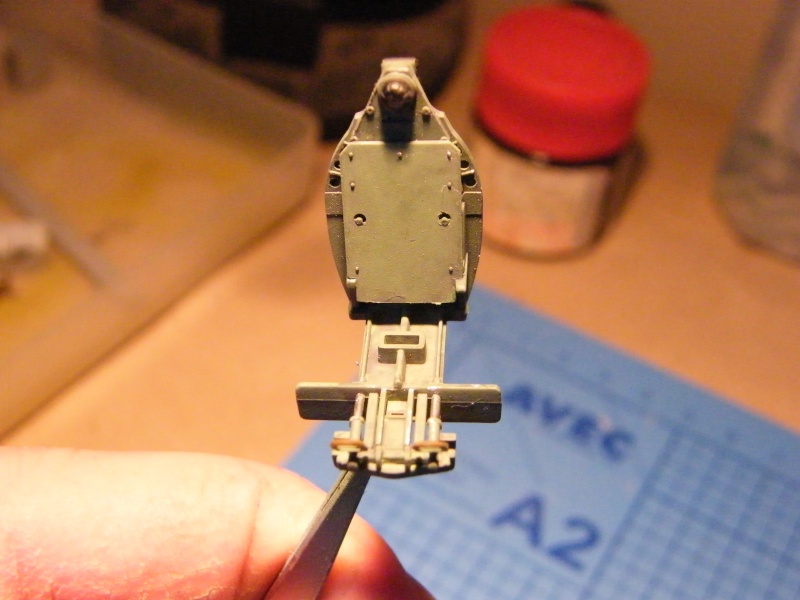
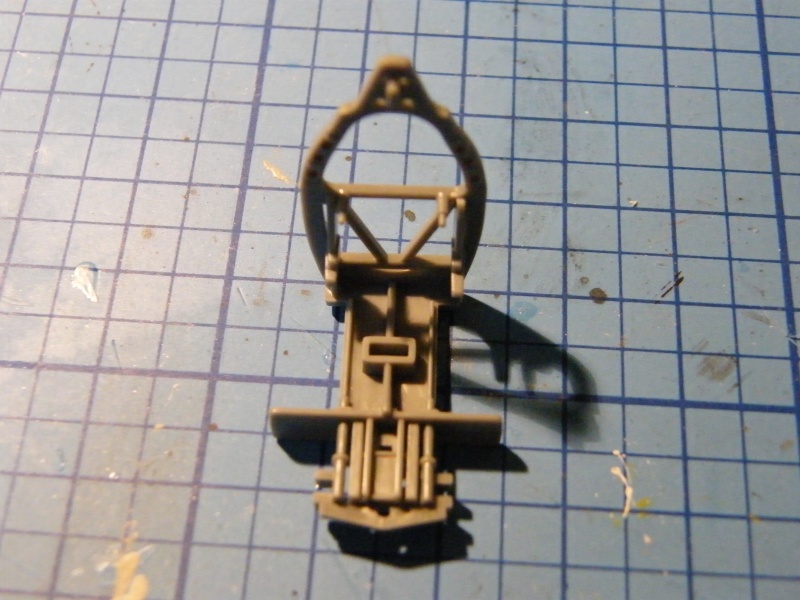
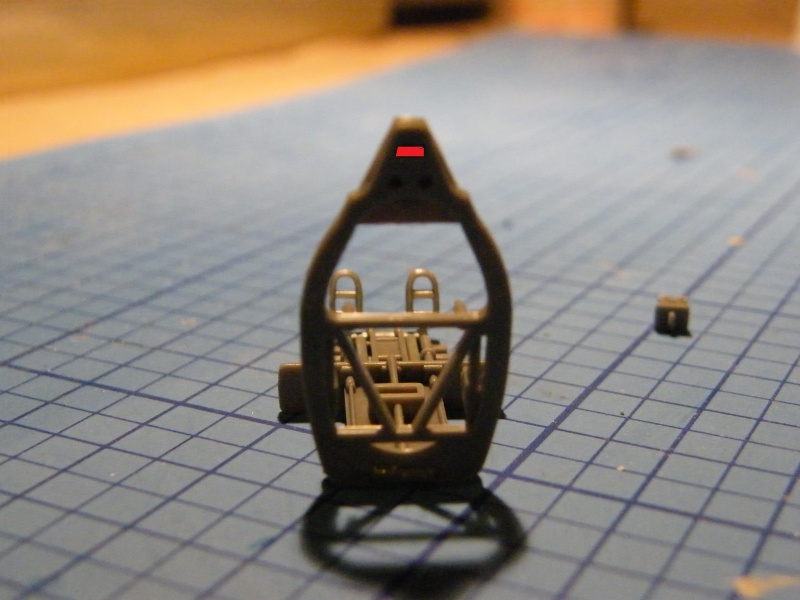
Next I will glue the head armour on to the cockpit, apply a thin bead of glue around the area shown. You don't need to cover the entire area in glue, this is just to show the general area. Revell contact runs quite nicely so you don't need to much of it.

The head armour is now put in place
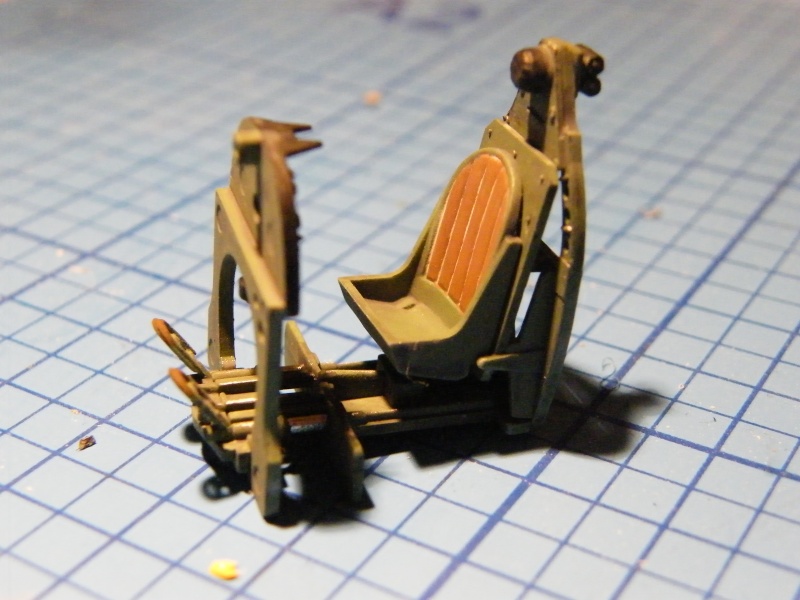
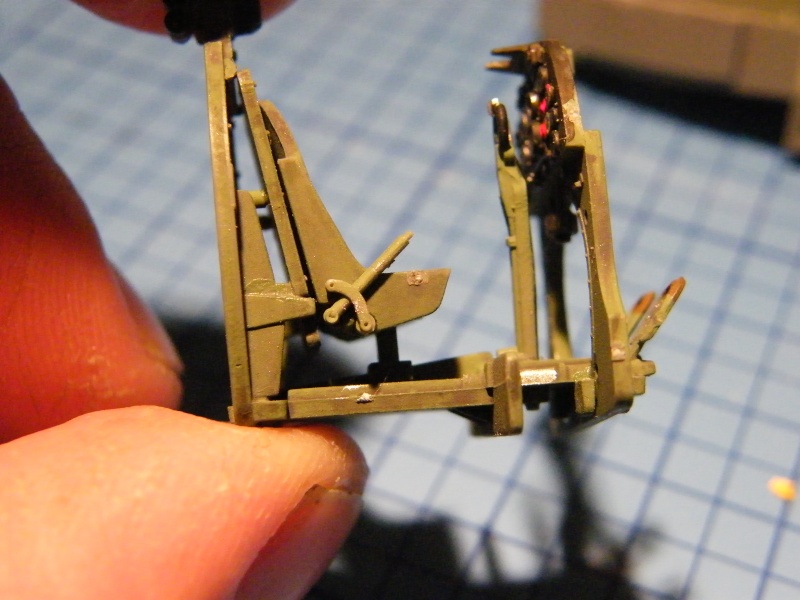
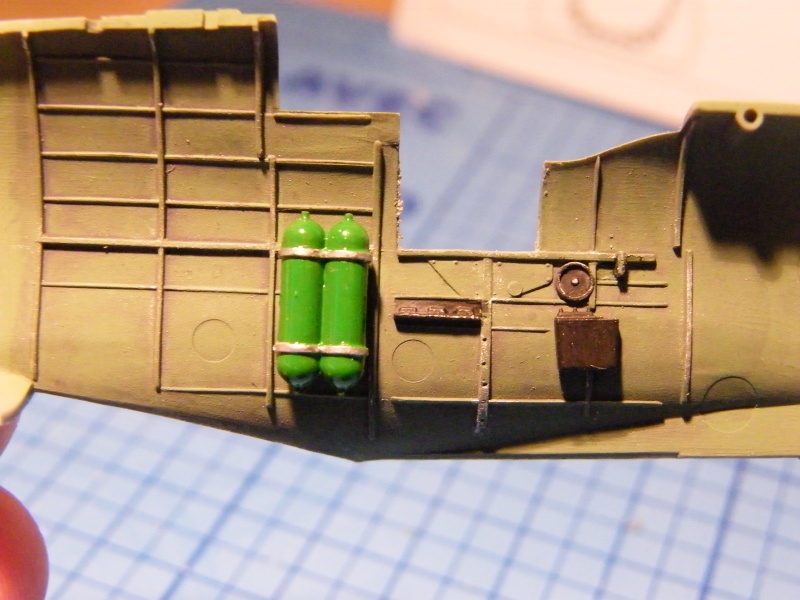
I will also glue the pedals in place so that they are easier to paint, and as they all need a coat of 78 interior green it just makes it easier to do this way.
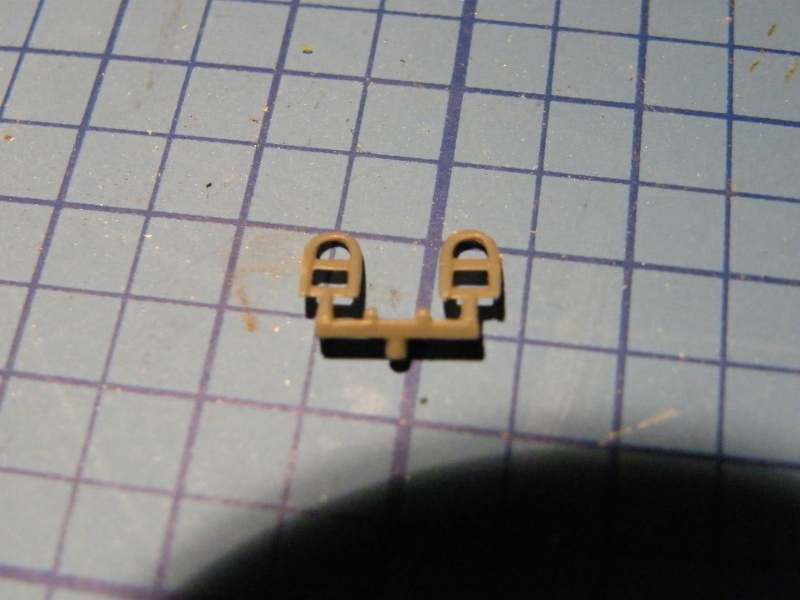
I have run a bead of glue along were the red line is

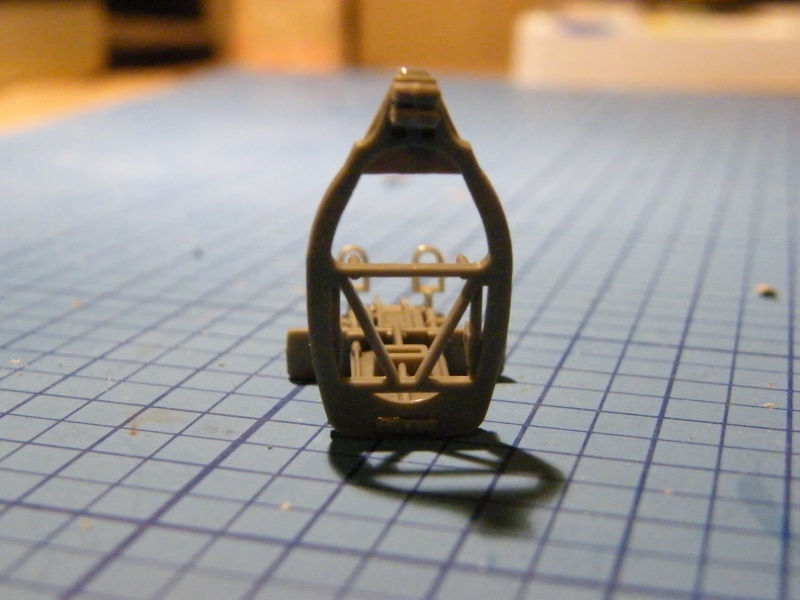
The pedals have now been put in place, just for simplicity I won't show all the parts in there 'dry fitting' stage so all parts from now on have been dry fitted and then glued.
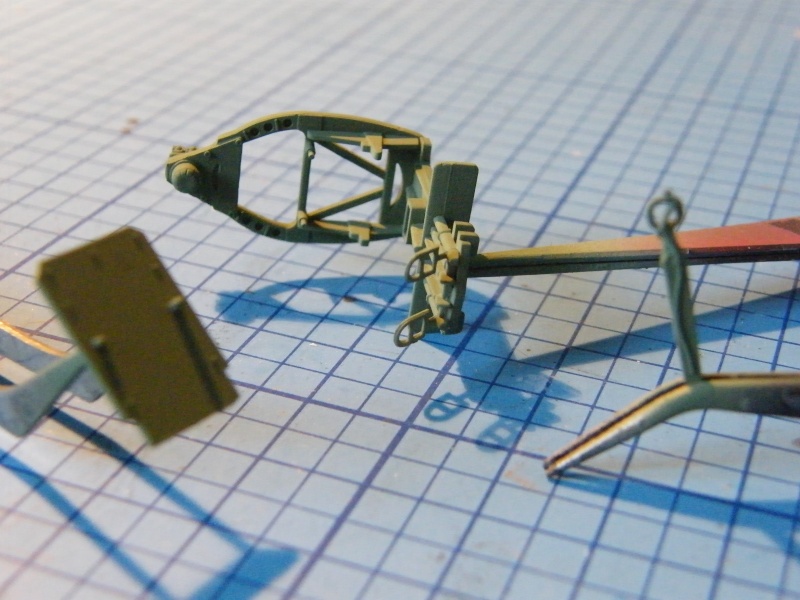
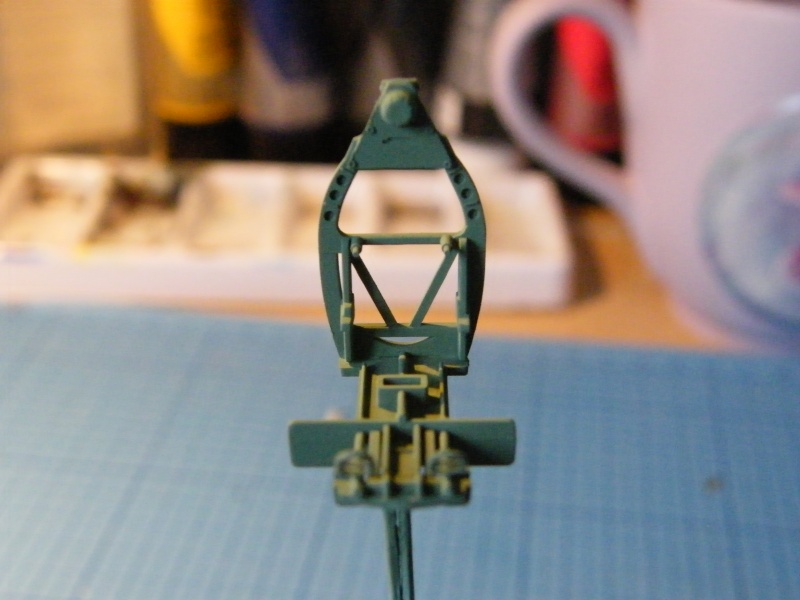
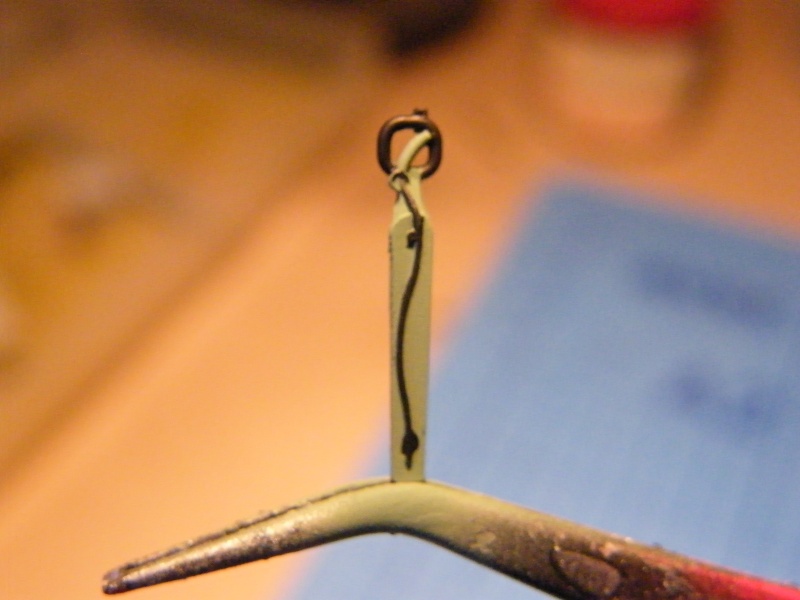
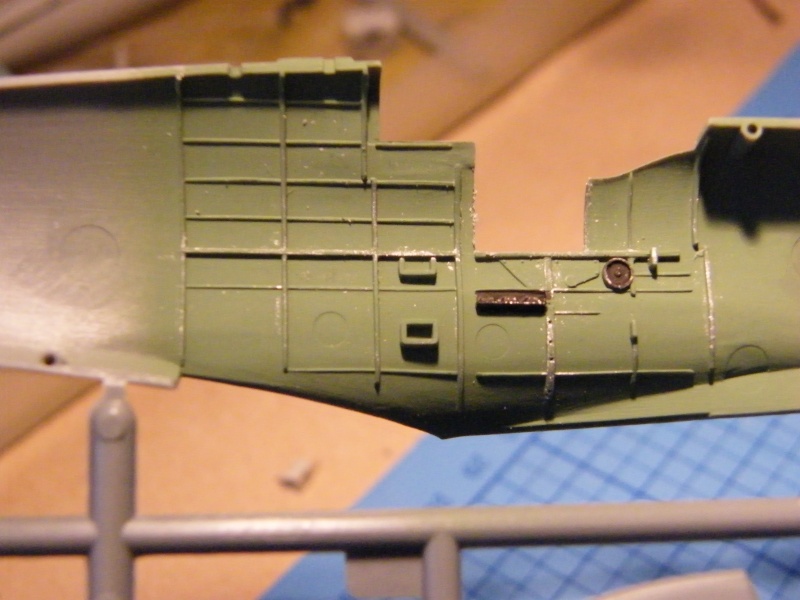
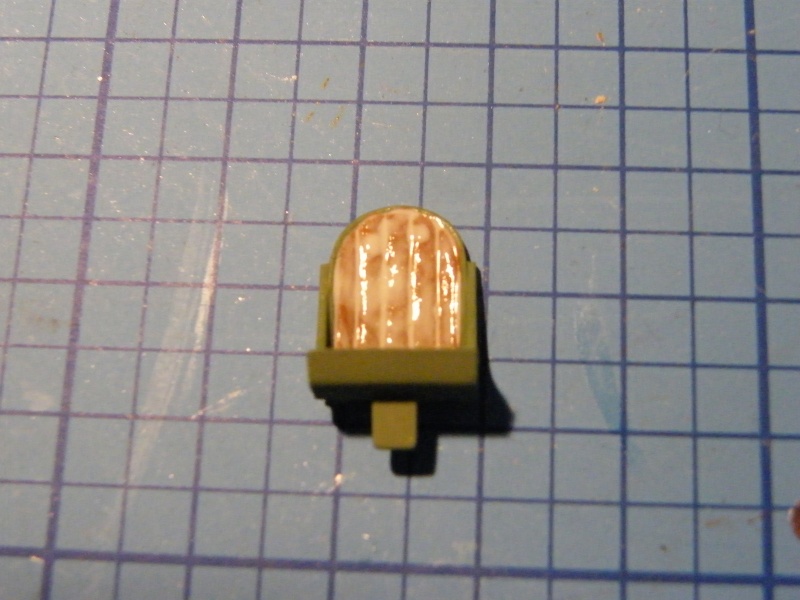
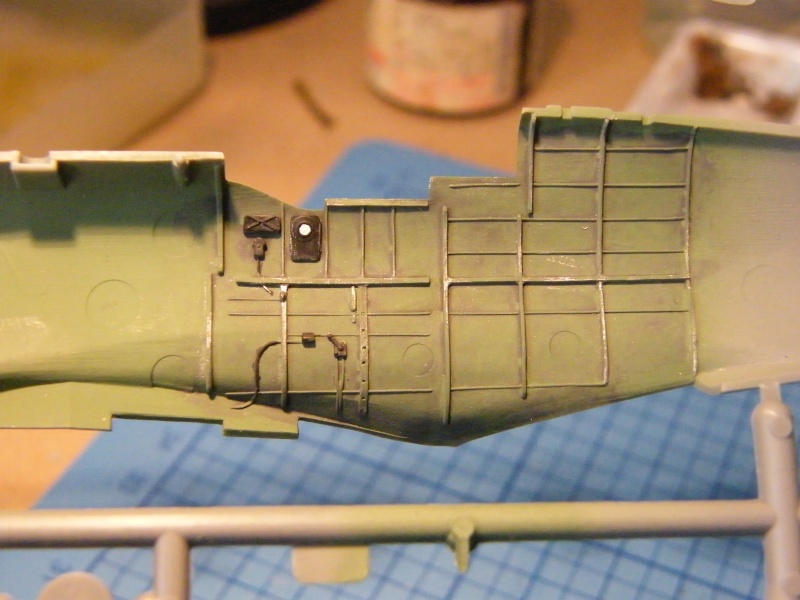
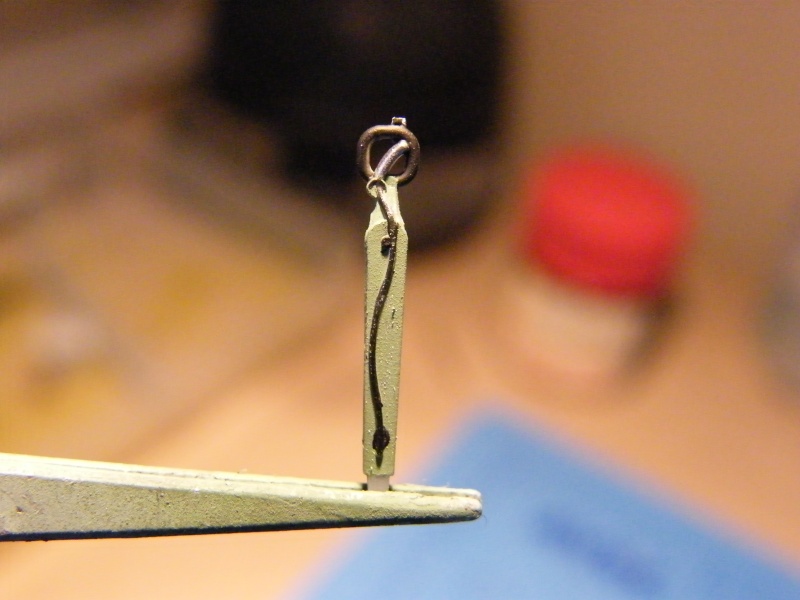
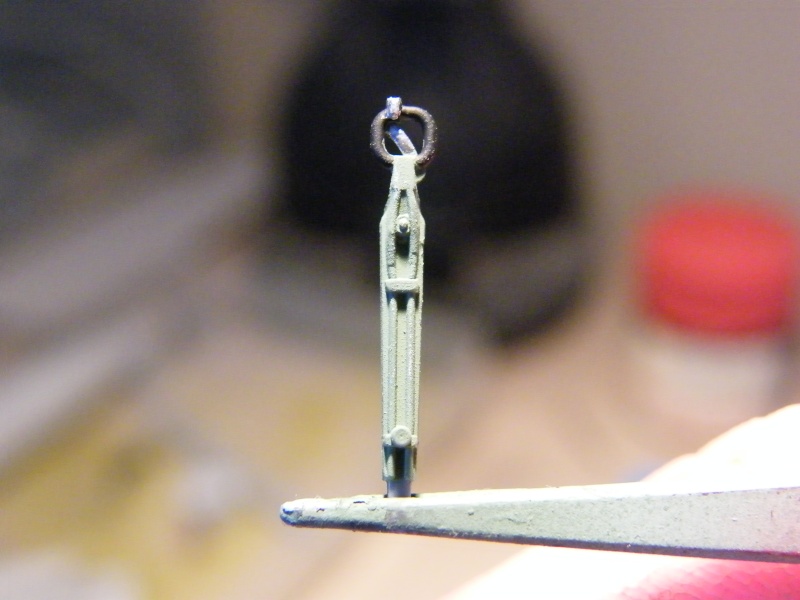
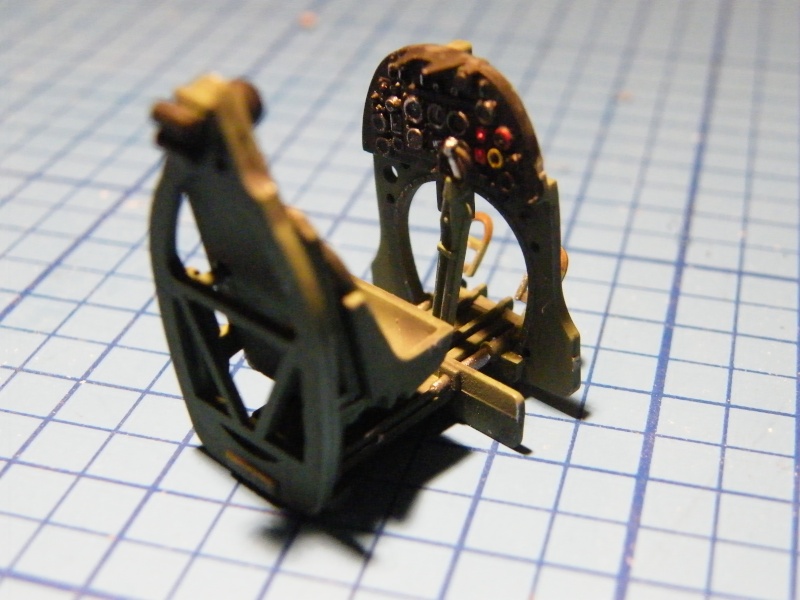
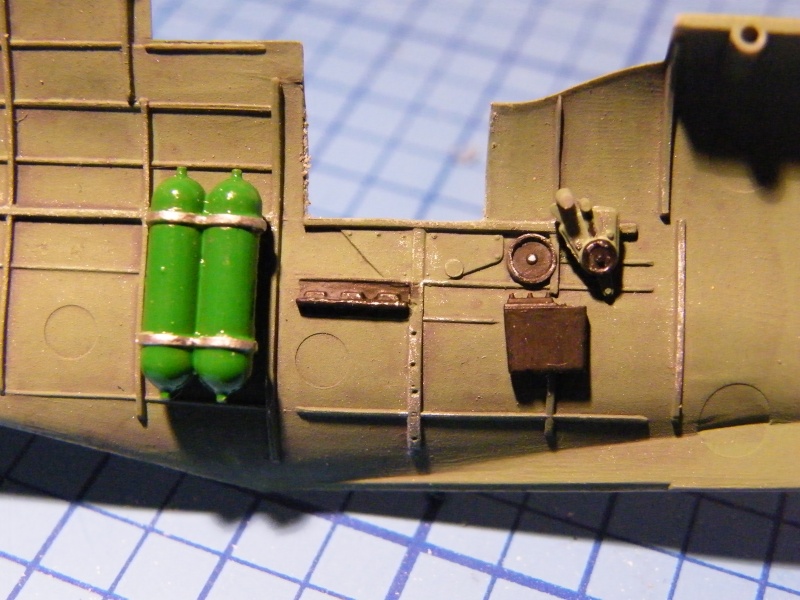
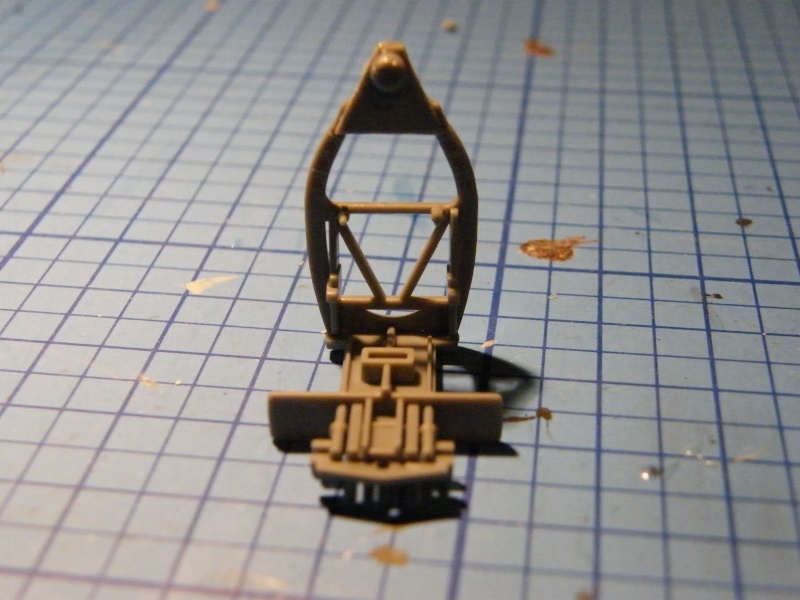
Now for the regulator, this goes behind the head armor
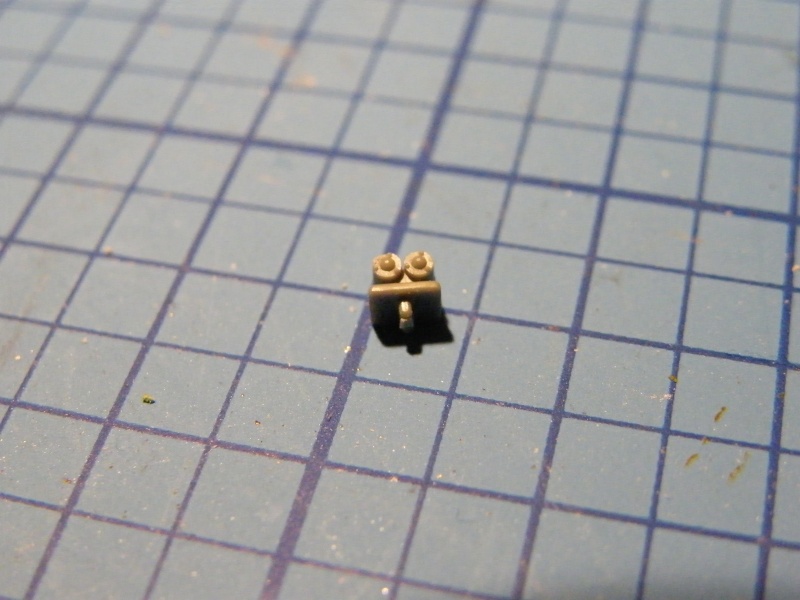
For this I think it is bets to put the glue just around the opening for the pin as this will limit any glue over spill
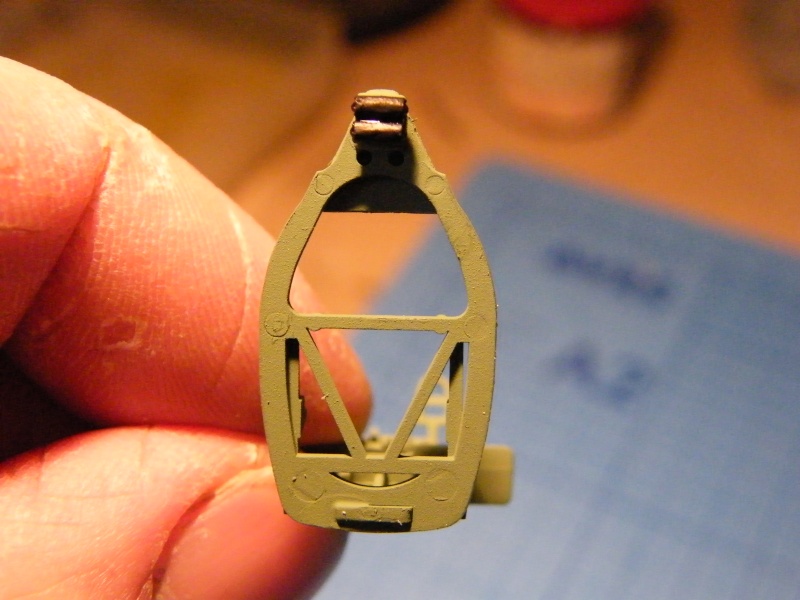
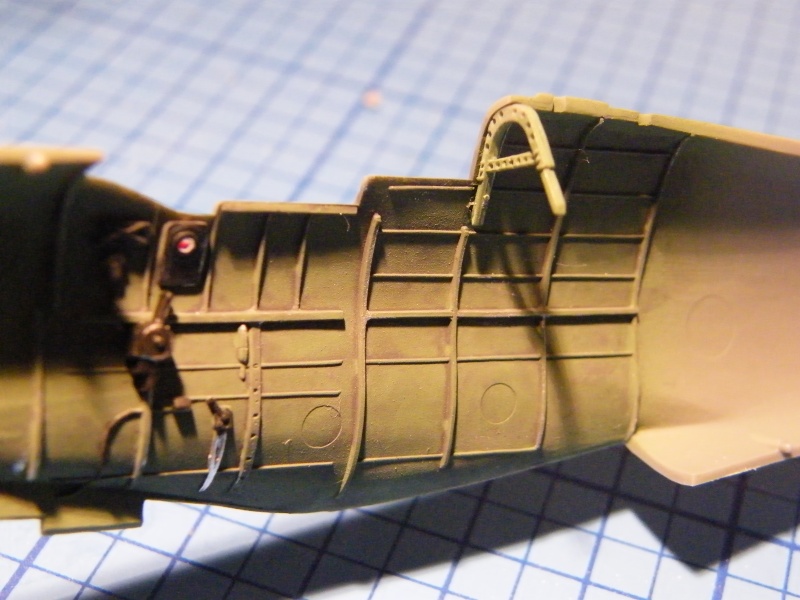
It is now in place
The next step will be to paint the cockpit and the side interior wall of the fuselage. This will be done in the next edition, I will be using humbrol 78 interior green.